
There is something about homemade ice cream that no shop-bought tub can ever quite match. In summer, ice cream is always the first thing I reach for when I want a snack. I am mostly a classic chocolate and vanilla fan — and all the variations that come with it, like anything with Nutella or caramel snuck in. But I also love fruity versions, and I always try to taste something new. Having an ice cream maker makes things a little easier — I got one this year — but you can make really great ice cream without one too, the texture will just be slightly different. My mum in summer always used to pour it into a mould for us when we were kids and slice it up. My siblings and I absolutely loved it! This post contains affiliate links.
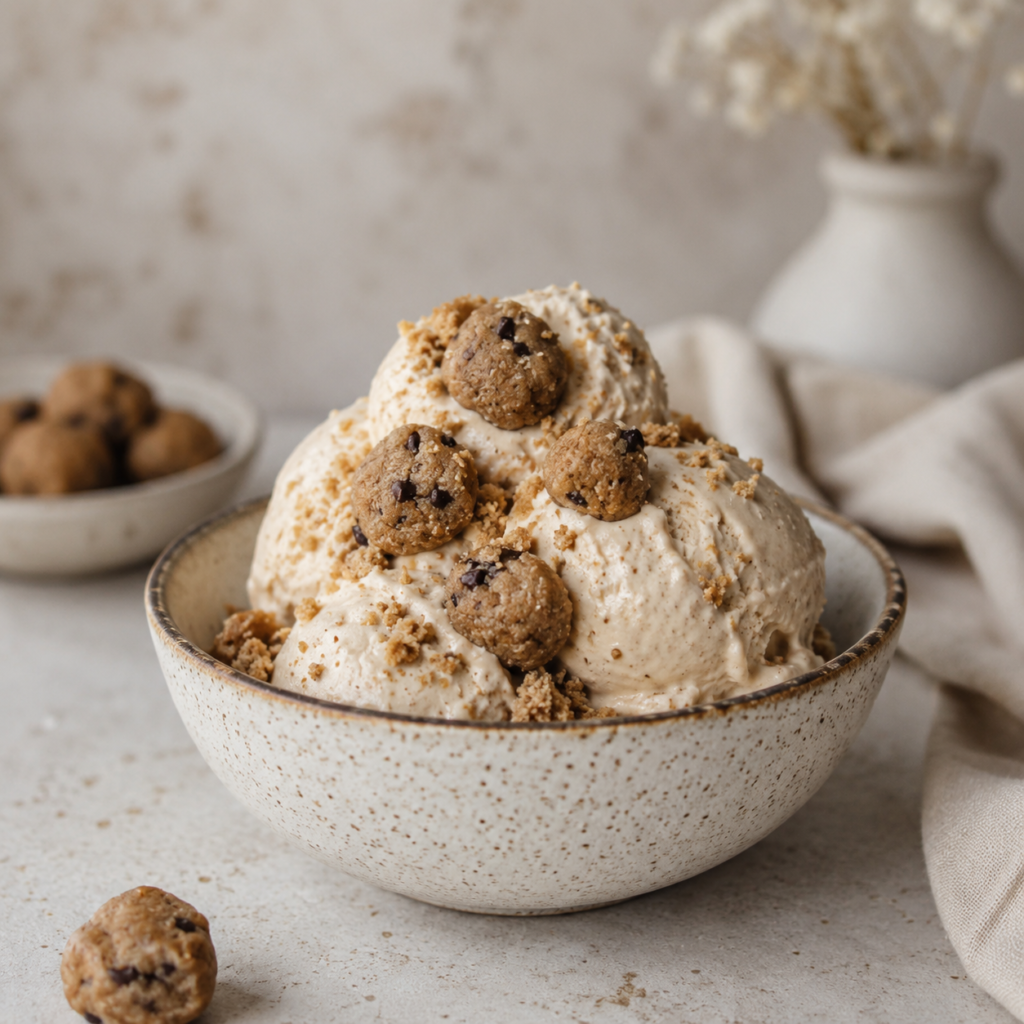
Ice Cream with Cookie Dough Bits
A creamy, wholesome easy homemade ice cream made with coconut milk and cashew butter — with edible cookie dough pieces folded in. It works with or without an ice cream maker.
Ingredients:
Ice cream / frozen yogurt
- 1 can full-fat coconut milk
- 1/3 cup THICK coconut yogurt or greek yogurt
- 1/4 cup maple syrup or honey
- 1/4 cup cashew butter or almond butter
- 1 1/2 tsp vanilla extract
- good pinch sea salt
Cookie dough bits
- 1/3 cup of your favorite protein powder (or 1/2 cup almond flour)
- 1/2 cup almond flour
- 2 1/2 tbsp runny cashew butter or almond butter
- 1 tbsp melted coconut oil
- 2 tbsp monk fruit or coconut sugar
- 1 tbsp maple syrup
- 2-3 tsp milk, of choice
- good pinch sea salt
- small handful of cacao nibs or mini chocolate chips
Instructions:
With an ice cream maker:
The night before, place the ice cream maker bowl in the freezer. The next day, blend all the ice cream ingredients together and pour the mixture into the machine.
For the cookie dough:
While the ice cream maker is running, mix all the dough ingredients together in a bowl. If the mixture feels too wet, add a little more flour. If it is too dry, add a splash of milk to adjust the consistency. Then roll the dough into small balls. You can drop a few into the ice cream maker while it is still running, but if you want them to stay intact and look good, it is worth adding them only in the last few minutes of churning. Set a few aside for topping too. Once the ice cream is ready, transfer it to an airtight container and place it in the freezer.
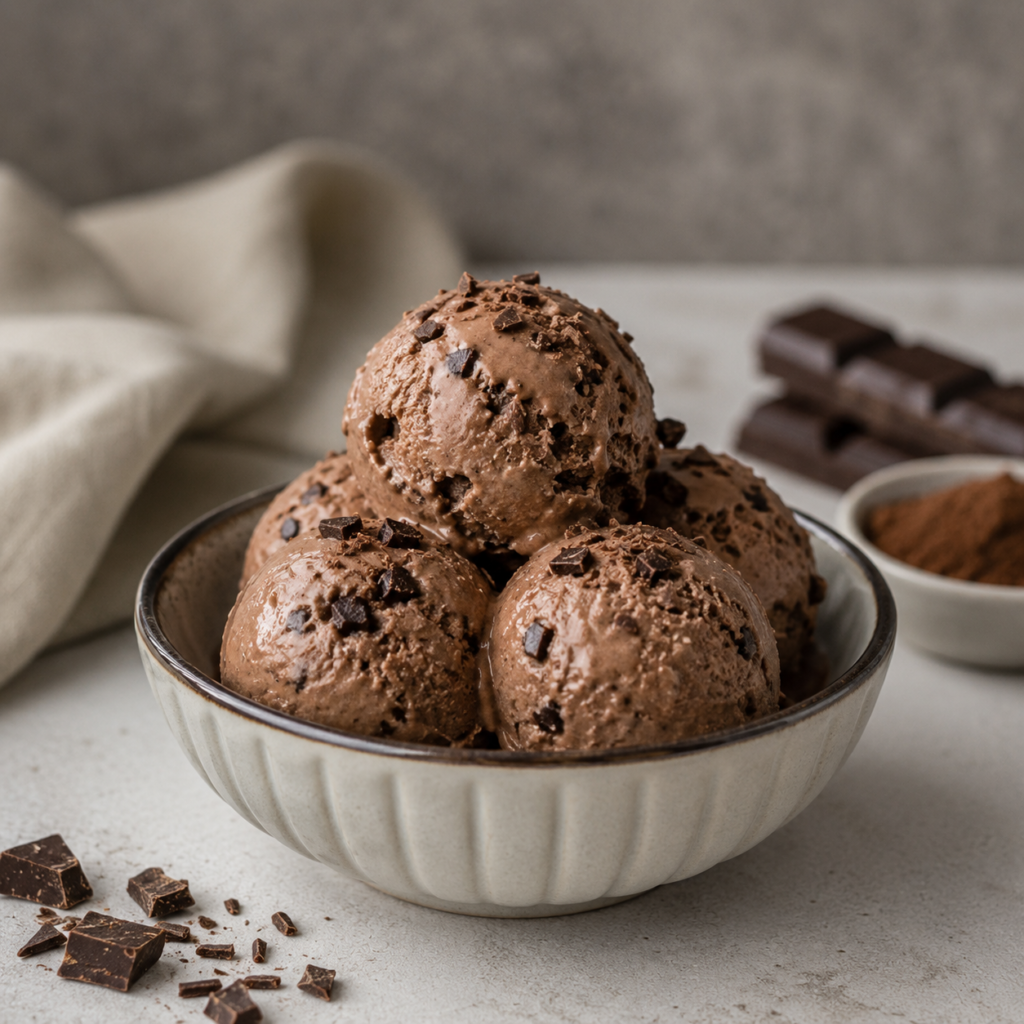
Creamy Vegan Chocolate Ice Cream
Rich, dark, and completely dairy-free — this easy homemade ice cream uses vegan heavy cream and Dutch-process cocoa for a deeply chocolatey result.
Ingredients:
– 2 cups (500ml) unsweetened vegan heavy cream or vegan whipping cream
– 1 cup (250ml) unsweetened dairy-free milk
– 1/2 cup (43g) Dutch-process cocoa powder (sifted)
– 1/3 cup (67g) light brown sugar
– 1/4 cup (50g) granulated sugar 1 tablespoon vanilla extract
– 1/4 teaspoon salt
Instructions:
Place the ice cream maker bowl in the freezer the night before. The next day, mix all the ingredients together thoroughly until everything is fully dissolved. Pour the mixture into the frozen ice cream maker bowl and churn until the ice cream reaches a soft-serve consistency, then turn the machine off. Transfer to an airtight container and place in the freezer for 4 to 6 hours.
No ice cream maker? No problem. Simply pour the finished cream mixture into a container and place it straight in the freezer. When serving, take it out a little earlier so it is easy to scoop. The texture may be slightly firmer, but it will taste just as delicious.
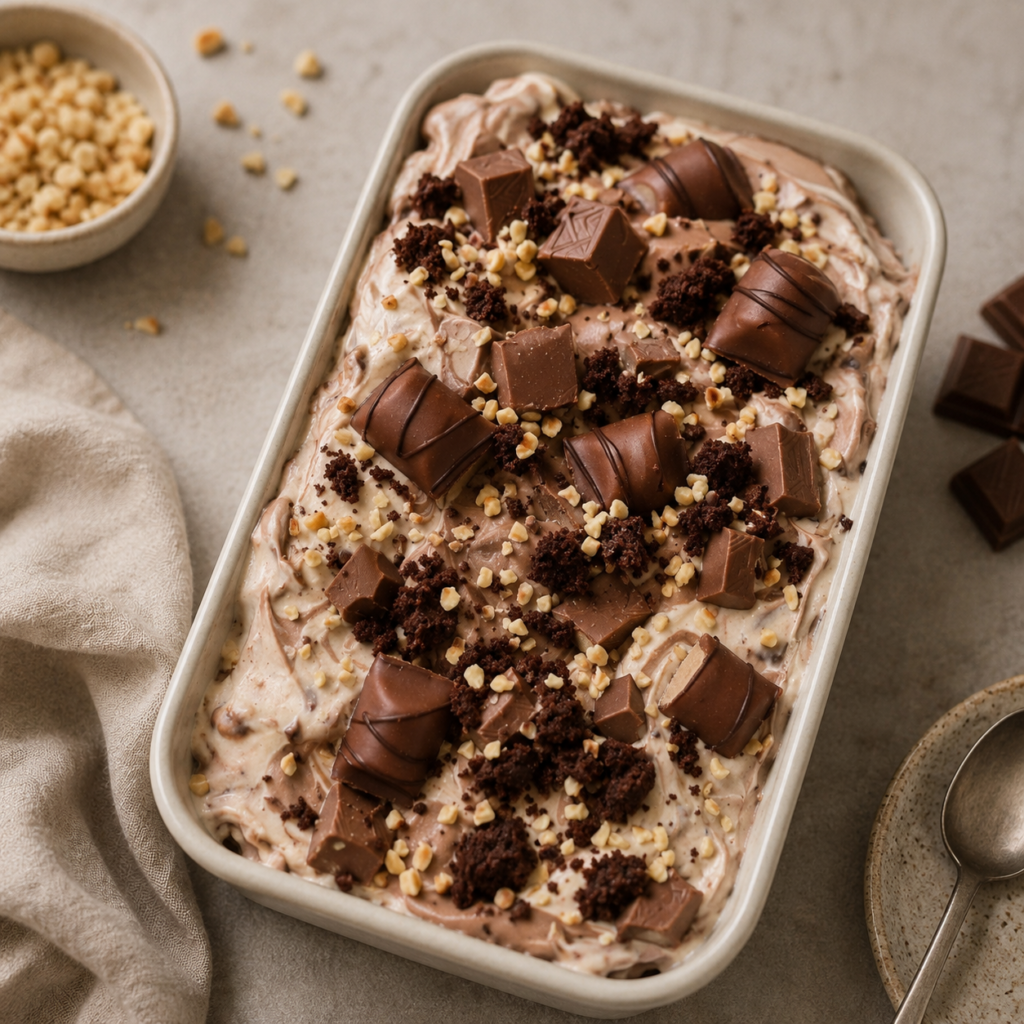
Kinder Bueno Ice Cream with Brownie Pieces
An indulgent no-churn easy homemade ice cream layered with hazelnut spread, brownie chunks, and Kinder chocolate — no ice cream maker needed.
Ingredients:
Ice cream base
- 600ml Double Cream
- 397g Condensed Milk
- 200g Hazelnut Spread
- 100g Brownie Chunks
- 200g Kinder Bueno / Kinder Chocolate Bars
Layers
- 200g Hazelnut Spread (melted)
- 100g Chopped Hazelnuts
- 100g Brownie Chunks
- 100g Kinder Chocolate
Instructions:
Whip the double cream in a large bowl. Then add the condensed milk and hazelnut spread and mix until a thick, mousse-like texture forms. Keep an eye on it and be careful not to over-mix.
Next, fold in the brownie chunks, Kinder chocolate bars, or Bueno pieces. Or use a mix of all of them.
Now for the layering. Melt the hazelnut spread in the microwave for a few seconds first. Pour half of the ice cream mixture into a mould or freezer-safe container. Add a few spoonfuls of hazelnut spread on top. Use a fork to gently swirl it in — just enough to combine slightly. Then add the brownie chunks, chopped hazelnuts, and Kinder chocolate pieces. Repeat the whole process with the remaining mixture. Finally, decorate the top with the leftover toppings and freeze for at least 6 hours.
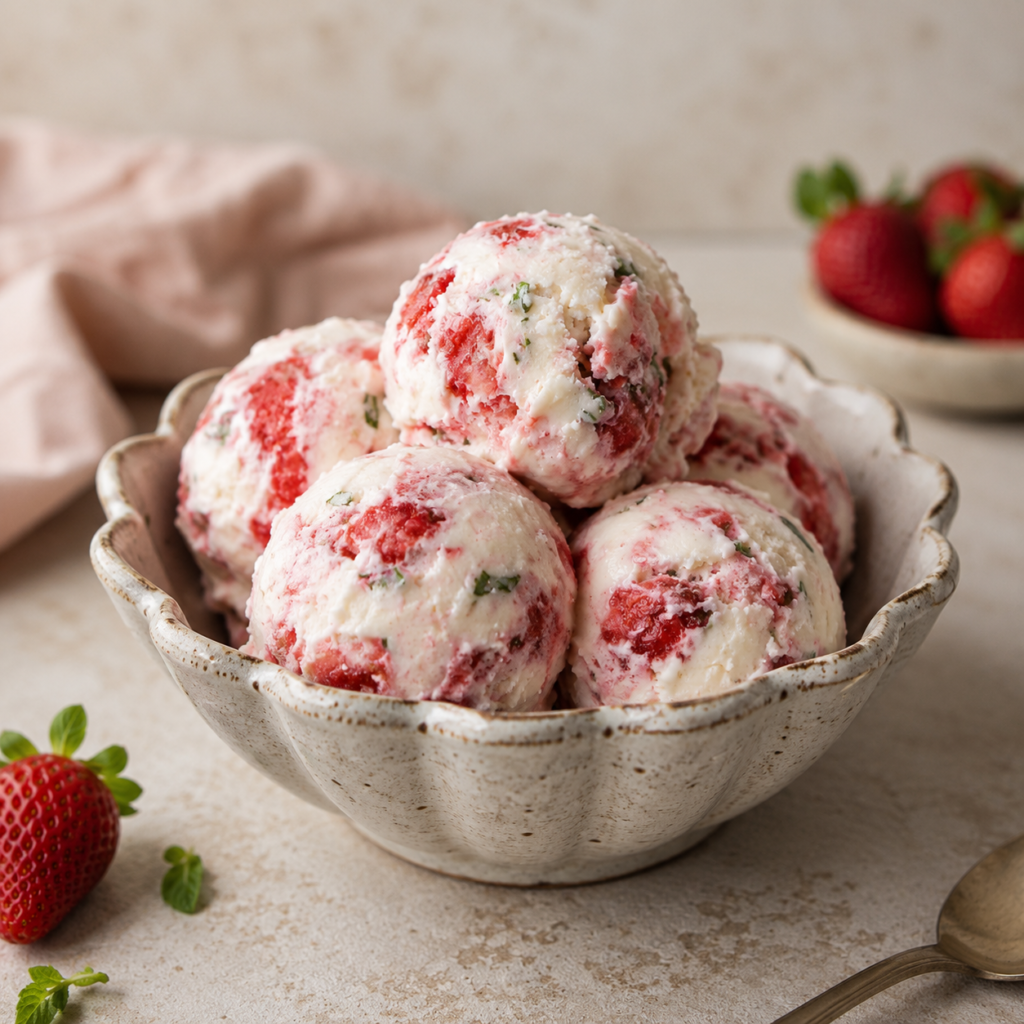
Strawberries and Basil Ice Cream
An elegant and unexpected combination — sweet jammy strawberries swirled with fresh basil and olive oil for a sophisticated easy homemade ice cream.
Ingredients:
– 2 cups quartered strawberries
– 1/4 cup sugar
– 1/2 lemon, juiced
– 12g basil leaves, finely chopped (about 1 cup loosely packed OR 1/3-1/2 cup finely chopped)
– 2 cups heavy whipping cream
– 14 oz (1 3/4 cups) sweetened condensed milk
– 1 tbsp vanilla extract
Instructions:
Line a loaf pan with parchment paper.
Cut the strawberries into small pieces. Bring them to a boil with the sugar and lemon juice. Once boiling, reduce the heat and simmer for about 7 minutes. Cook until the mixture reaches a jam-like consistency. Use a fork to crush the strawberries slightly, then set aside to cool.
Finely chop the basil. Place about three quarters of it into a bowl with 1 tablespoon of sugar. Lightly crush everything together to release the flavour. Set aside.
In a bowl, combine the condensed milk and vanilla extract and stir together. In a large bowl, whip the heavy cream to medium-stiff peaks. Gently fold in the condensed milk mixture. Then fold in the cooled strawberry mixture.
Pour half of the strawberry cream into the prepared pan. Spoon half of the basil mixture on top. Gently drag it through the cream a few times — just enough to swirl it in slightly. Add the remaining strawberry cream on top. Then add the rest of the basil mixture and swirl it in gently once more. Decorate the top with the remaining chopped fresh basil.
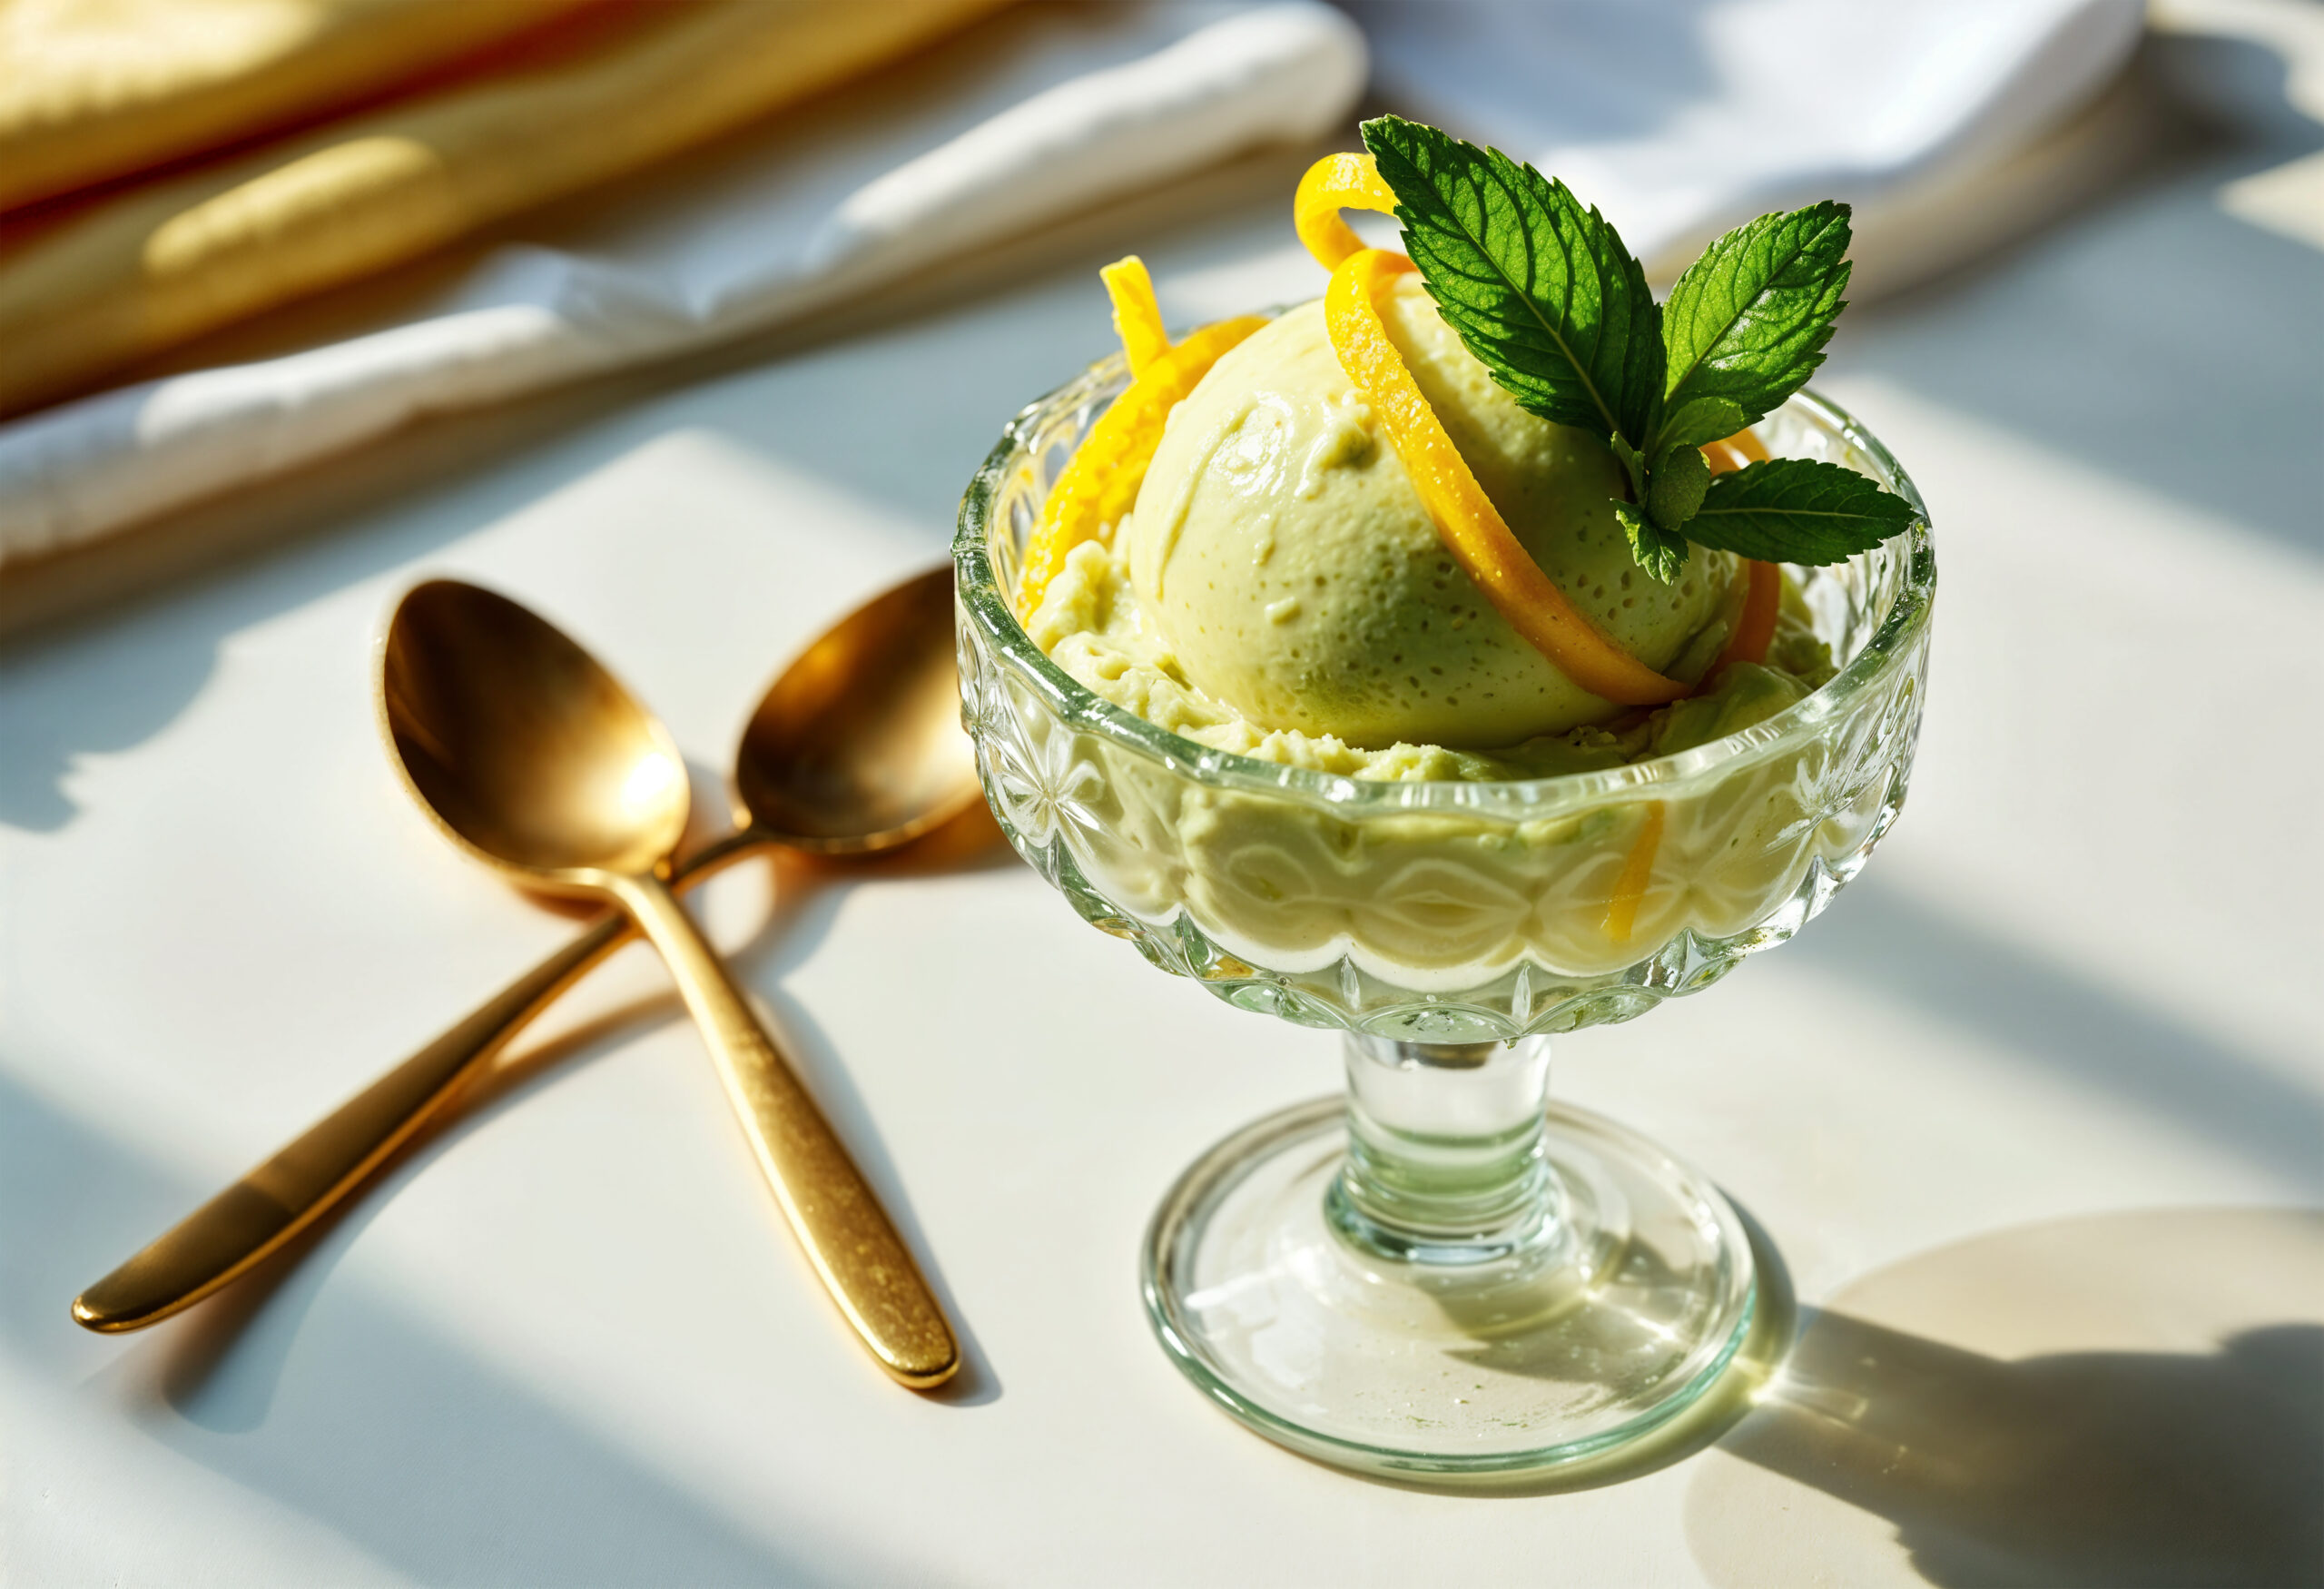
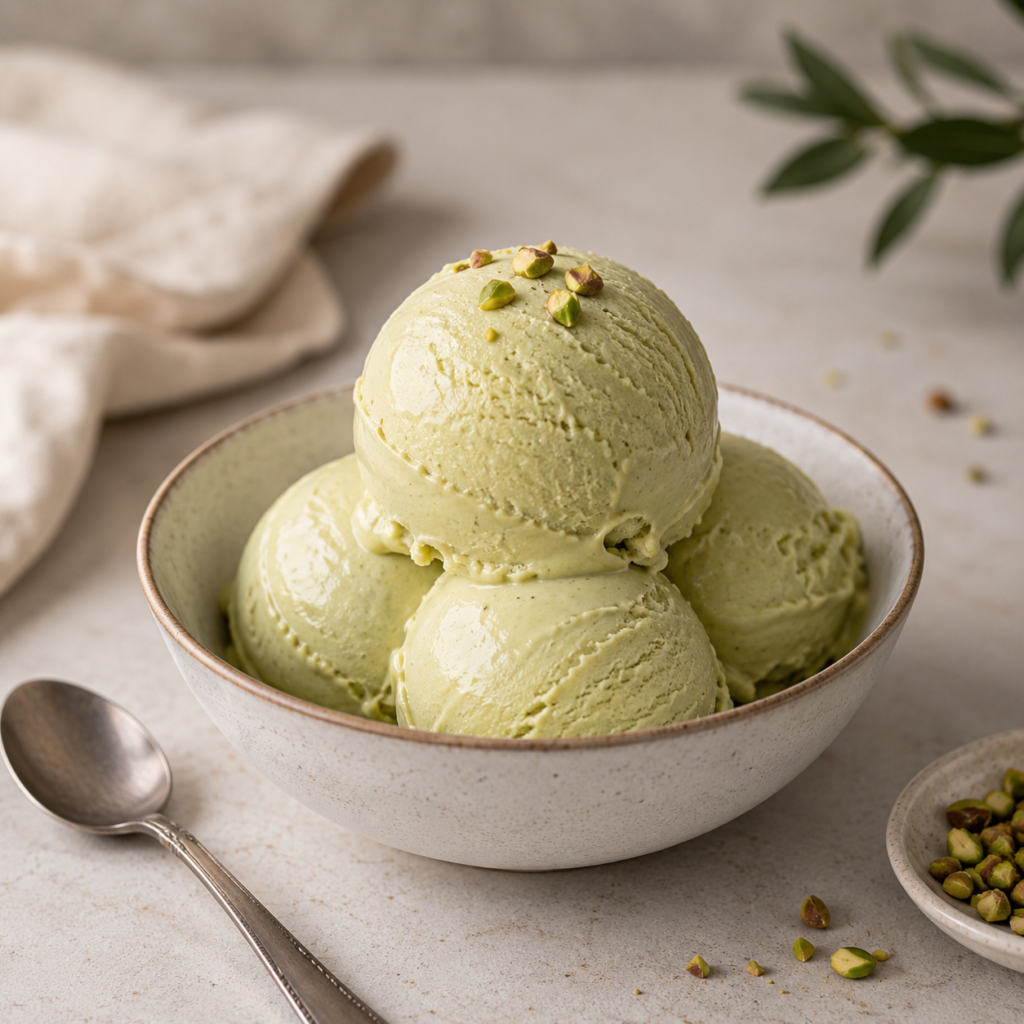
Pistachio Ice Cream
A classic pistachio ice cream made with pure pistachio paste and tapioca starch for a silky, naturally green result.
Ingredients:
– 1/2 cup (140g) pure pistachio paste
– 2 teaspoons (5g) tapioca starch
– 2 cups (500ml) milk
– 1 cup (250ml) thickened cream
– 1/2 cup (110g) white sugar
– 1/2 tablespoon (15g) glucose syrup
– 1/4 teaspoon vanilla essence
– 1 pinch salt
Instructions:
Add a few tablespoons of the measured milk to the tapioca starch. Stir well until you get a smooth paste with no lumps.
Add the remaining milk, cream, sugar, and glucose syrup to a small saucepan. Heat over medium heat and stir until everything is fully dissolved. Add the tapioca starch mixture and keep stirring over medium heat for a few more minutes. Then remove from the heat and set aside to cool.
Once cooled, add the pistachio paste and vanilla essence. Mix well until fully combined. Place in the fridge for at least 4 hours or overnight.
When ready, freeze the ice cream maker bowl first. Then pour in the chilled mixture and churn until it reaches the right consistency. Transfer to an airtight container and place in the freezer.
Serve with finely chopped pistachios on top.
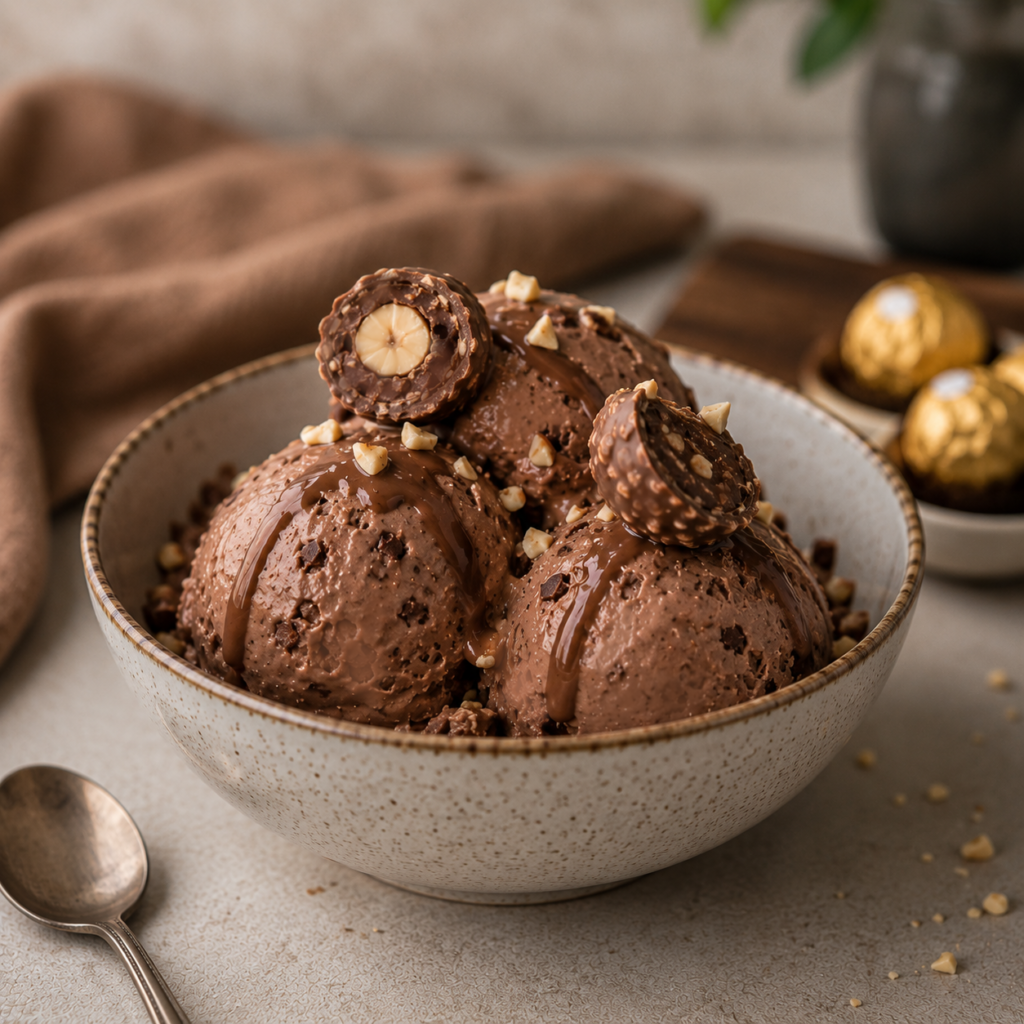
Ferrero Rocher Nutella Ice Cream
A luxurious no-churn easy homemade ice cream with Nutella, cream cheese, toasted hazelnuts, and chopped Ferrero Rocher throughout.
Ingredients:
Ice cream base
- 2 cups (480ml) whipping cream
- 1 1/2 cups (450g) Nutella
- 2/3 package (150g) cream cheese
- 1 tsp pure vanilla extract
- 1/8 tsp salt
Add-ins
- 1/2 cup (150g) Nutella
- 1/2 cup (75g) toasted hazelnuts, chopped
- 10 Ferrero Rocher, coarsely chopped
Garnish
- 4 Ferrero Rocher, coarsely chopped
- 2 tbsp toasted hazelnuts, chopped
- 2 tbsp Nutella
Instructions:
Whip the heavy cream to soft peaks and set aside.
In a separate bowl, combine the Nutella, cream cheese, vanilla extract, and salt. Mix well with an electric mixer until smooth. Add the whipped cream and mix until almost fully incorporated. Be careful not to over-mix.
Add the coarsely chopped Ferrero Rocher, some of the toasted hazelnuts, and the Nutella in small amounts. Gently fold everything in with a rubber spatula. Just a few folds — that is all it needs.
Transfer the mixture to a 23 x 13cm loaf pan lined with parchment paper. Or use any freezer-safe container you have. Sprinkle the top with the remaining hazelnuts and Ferrero Rocher. Add a few spoonfuls of Nutella on top for decoration. Freeze for at least 6 hours.
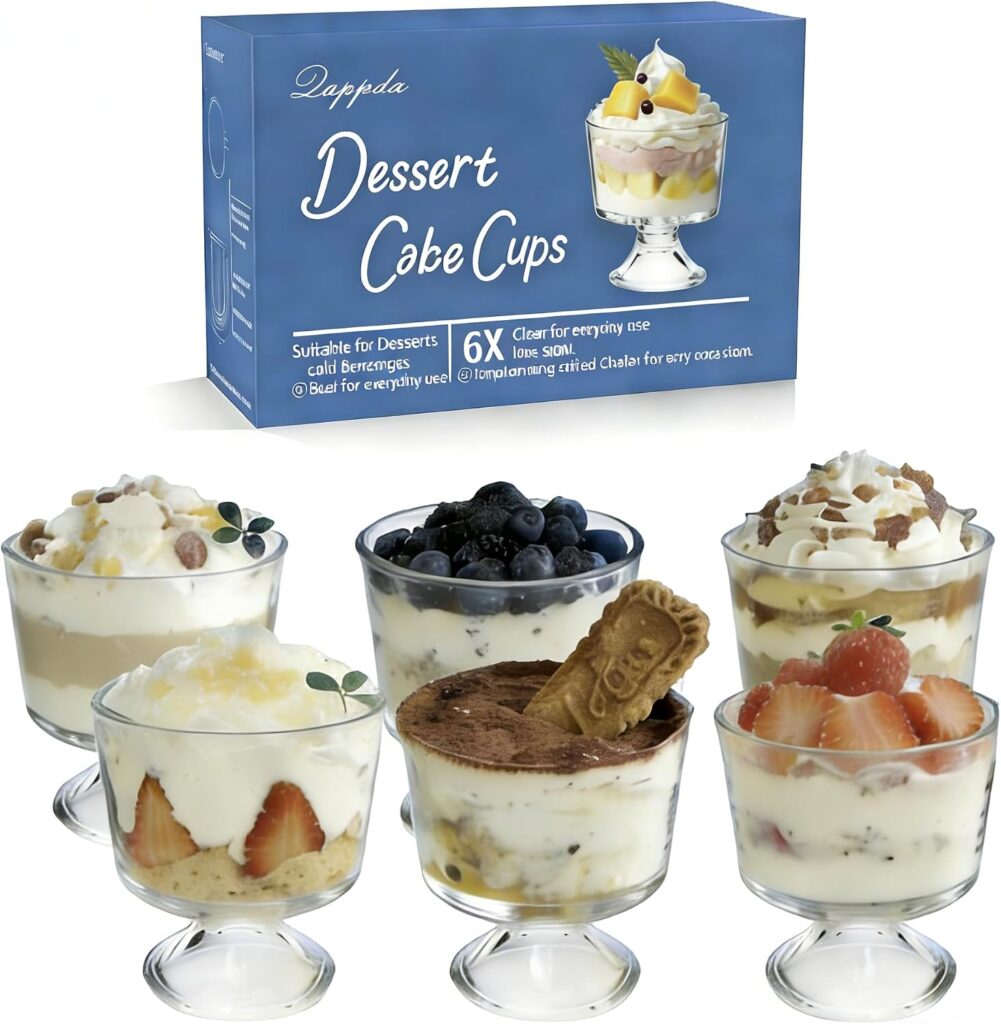
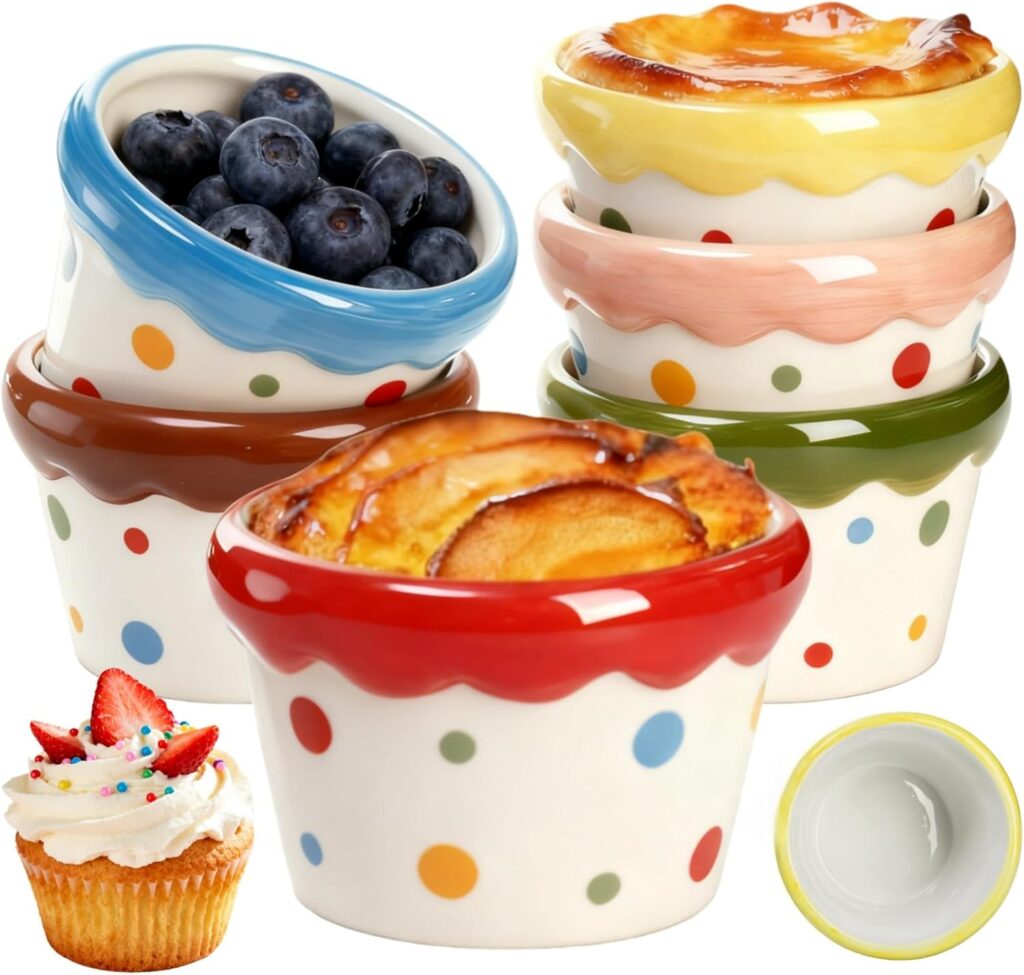
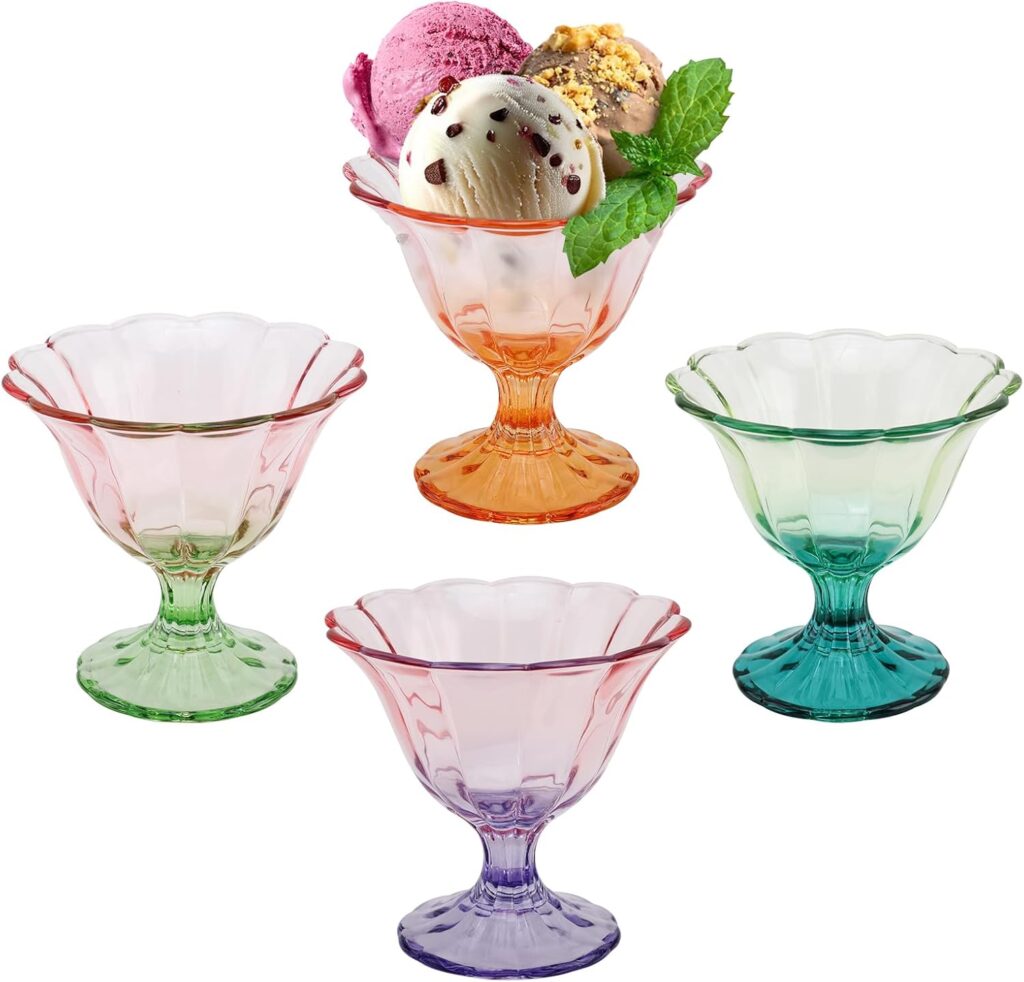
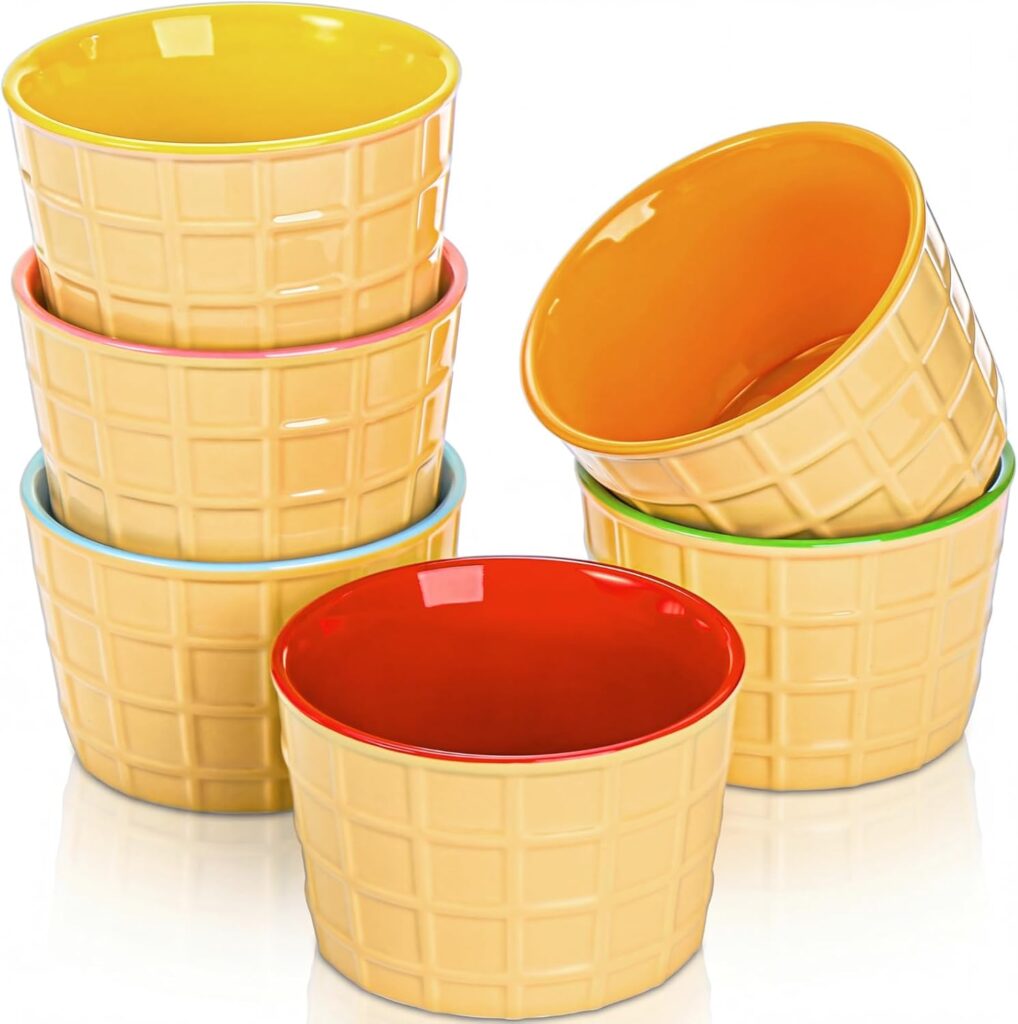
It really does matter what you eat your ice cream from. A cute bowl or a pretty glass makes the whole experience so much more enjoyable. It sounds like a small detail, but somehow ice cream just tastes better when it looks good too. There are some lovely options out there that are worth having on hand all summer long.
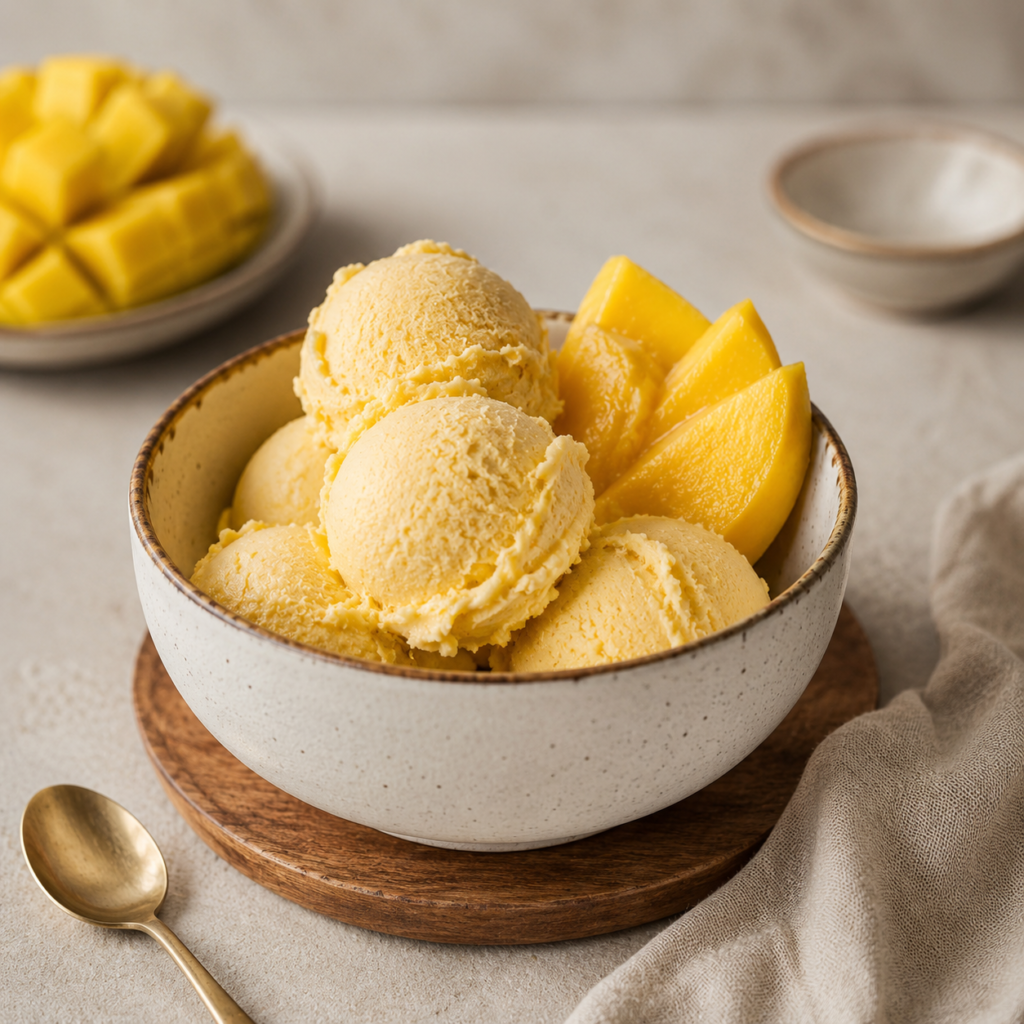
Creamy Mango Ice Cream
A rich custard-based easy homemade ice cream with mango puree, orange zest, and a touch of dark rum for depth and flavour.
Ingredients:
-2 cups mango puree (from 4-5 ripe red mangoes, 500ml)
– 1 cup whole milk (250ml)
– 2 cups heavy cream (500ml)
– 5 large egg yolks
– 1 cup sugar (200g)
– Pinch salt
– 1 tablespoon orange zest
– 2 tablespoon orange juice
– 1 teaspoon vanilla extract
Instructions:
Peel the mangoes and blend the flesh in a blender until smooth.
Heat the puree in a saucepan with a quarter cup of sugar until it thickens slightly. Then set aside to cool.
In a separate saucepan, heat 1 cup of milk and 1 cup of heavy cream until steaming.
In a bowl, mix together the egg yolks, remaining sugar, and a pinch of salt. Slowly add the warm milk mixture a quarter cup at a time. This tempers the eggs so they do not cook from the heat. Then pour the egg mixture back into the saucepan. Add the orange zest and juice and stir over medium heat for about 15 minutes until thickened.
Strain the custard through a sieve directly into the mango puree. Add the remaining cream and vanilla extract and stir everything together. Transfer to an airtight container once slightly cooled. Chill in the freezer for several hours.
If using an ice cream maker, churn the chilled mixture according to the manufacturer’s instructions.
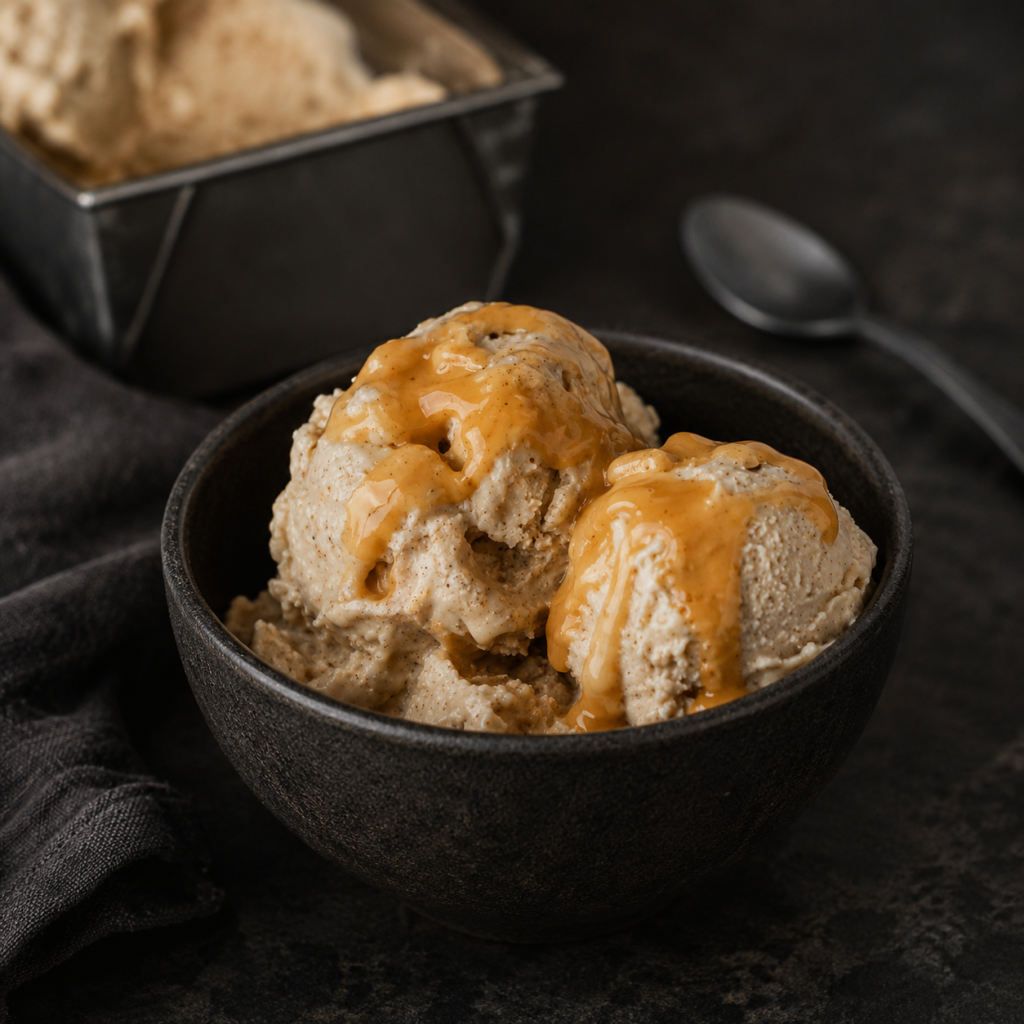
Apple Pie Ice Cream
All the flavour of a classic apple pie in easy homemade ice cream form — with cinnamon apples and graham cracker pieces folded in.
Ingredients:
Apples
- 2 Granny Smith apples, peeled and diced small
- 1 1/2 tablespoons salted butter
- 3 tablespoons granulated sugar
- 2 teaspoons ground cinnamon
Ice cream base
- 2 cups whole milk
- 3/4 cups granulated sugar
- 1 teaspoon ground cinnamon
- 2 cups heavy cream
- 2 teaspoons pure vanilla extract
- 5 cinnamon graham crackers, broken up into pieces
Instructions:
In a saucepan over low heat, combine the diced apples, sugar, butter, and cinnamon. Cook for about 10 minutes, stirring occasionally, until the apples have softened and released their juices. Set aside to cool completely.
In a bowl, whisk together the milk, sugar, and cinnamon for about 2 minutes. Then add the heavy cream and vanilla and stir to combine.
Pour the ice cream base into the pre-frozen ice cream maker bowl and churn until it reaches a soft-serve consistency. Then fold in the graham cracker pieces and the cooled apple mixture. Transfer to an airtight container and freeze for 4 to 6 hours. Take it out of the freezer about 10 minutes before serving.
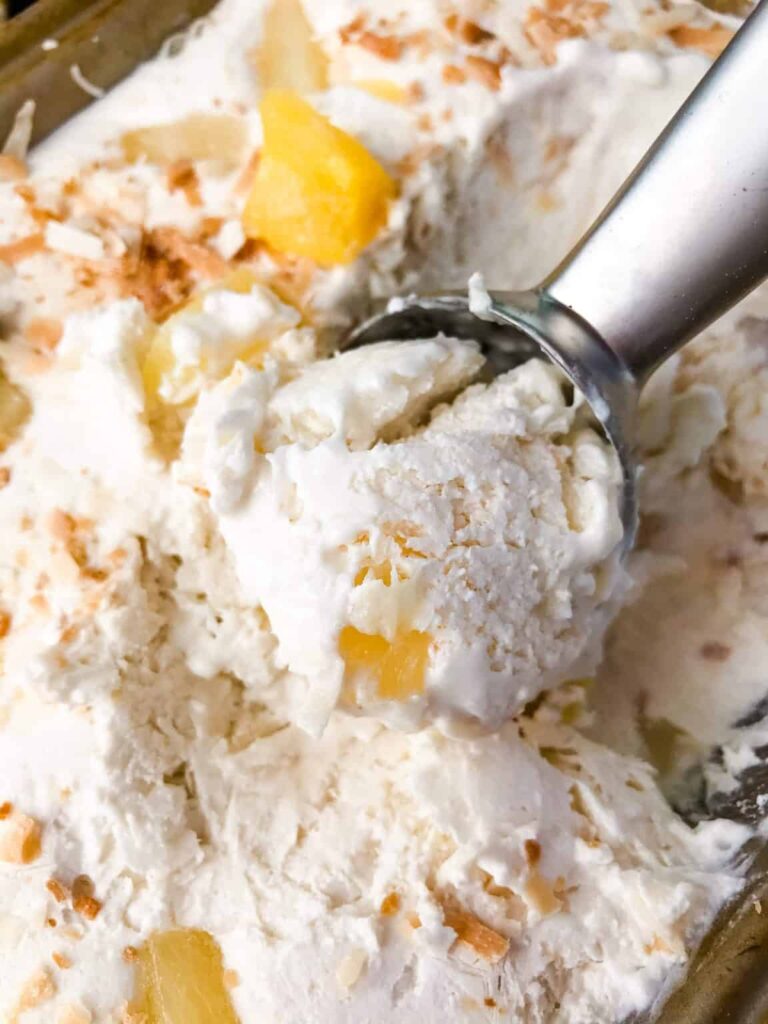
Pina Colada Ice Cream
A tropical no-churn easy homemade ice cream with toasted coconut, pineapple chunks, and coconut milk — summer in a scoop.
Ingredients:
– 1/2 cup shredded coconut, toasted
– 2 cups heavy cream
– 1 can coconut milk (approximately 13.5 ounces)
– 1 tablespoon pineapple juice (optional — brine from canned works well)
– 2 teaspoons vanilla extract
– pinch salt
– 1 cup diced pineapple (canned or fresh)
Instructions:
Toast the shredded coconut lightly in the oven if you like.
In a stand mixer or with a hand mixer, whip the heavy cream until stiff peaks form. In a separate bowl, combine the coconut milk, pineapple juice, vanilla, and salt. Then gradually fold in the whipped cream a little at a time.
Pour the mixture into a 23 x 13cm loaf pan or any similar-sized container you have. Place in the freezer until it starts to thicken. Then fold in the toasted coconut and pineapple chunks. Return to the freezer and leave until completely frozen.
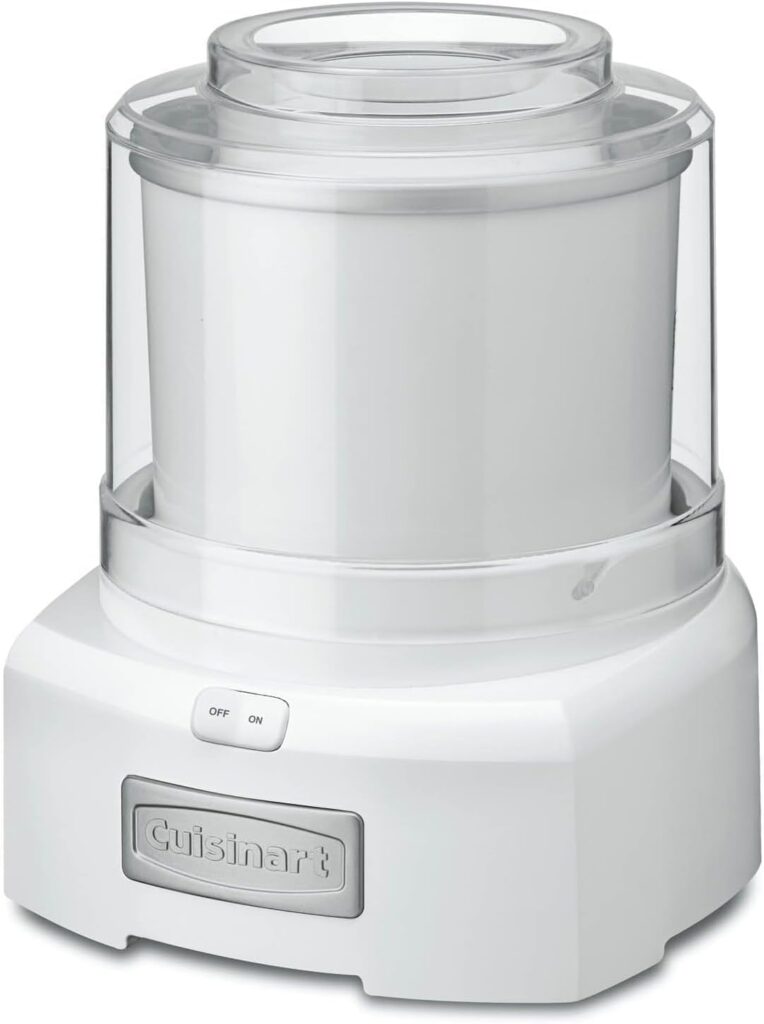
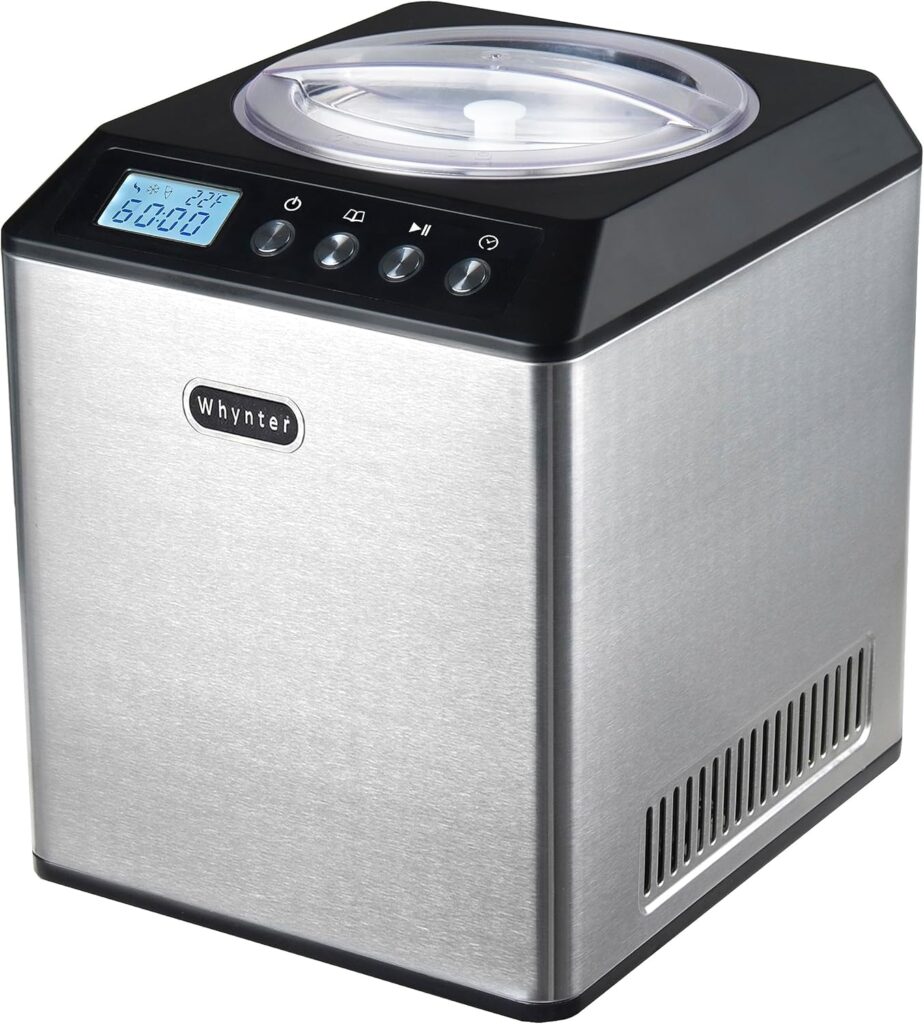
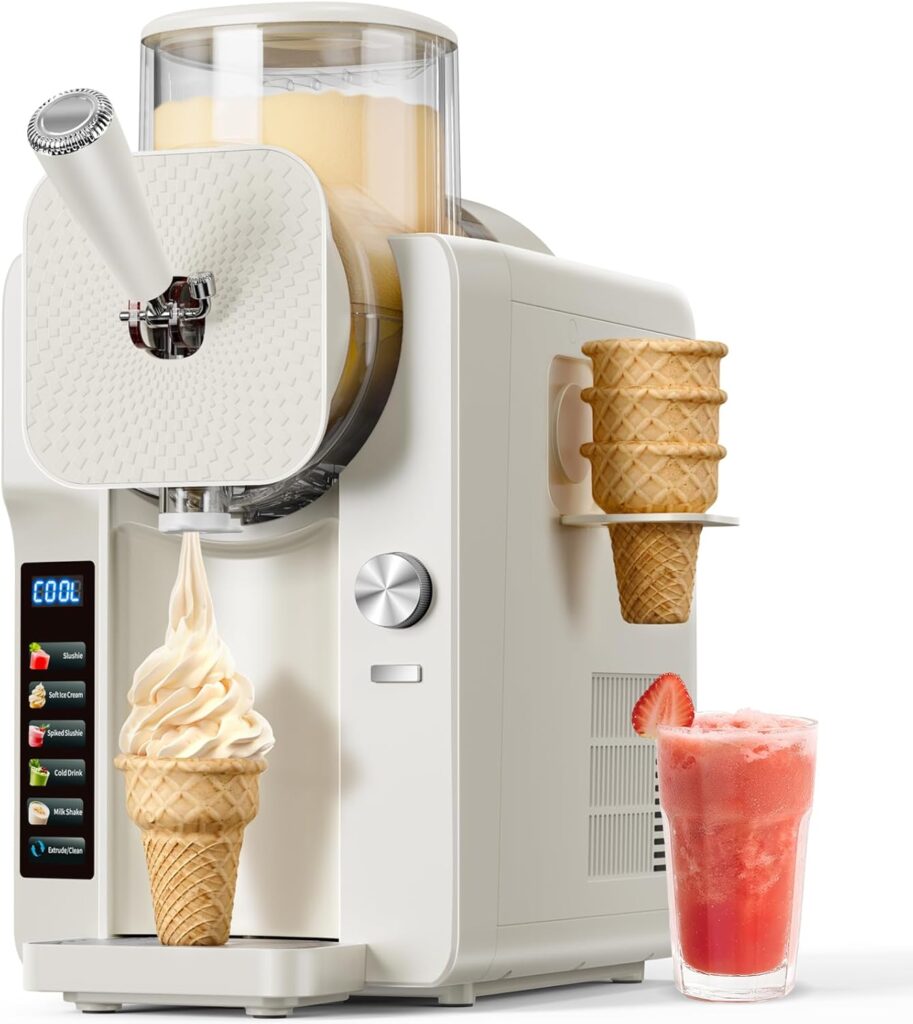
If these recipes have inspired you to invest in an ice cream maker, it is honestly one of the best kitchen additions for summer. The difference in texture is noticeable and the process becomes so much more enjoyable. There are some great options available at different price points — worth looking into if you find yourself making homemade ice cream regularly. ->
Tips for Making Easy Homemade Ice Cream
A few things that make a real difference when making easy homemade ice cream at home. First, if you are using an ice cream maker, always freeze the bowl the night before — it needs to be completely frozen for the best result. Also, make sure the ice cream base is well chilled before churning. A warm base will not thicken properly in the machine.
If you are making it without an ice cream maker, stir the mixture every 30 minutes for the first couple of hours in the freezer. That helps break up ice crystals and gives a creamier texture. It will not be quite the same as churned ice cream, but it will still taste delicious.
For storage, an airtight freezer-safe container is essential. And when you are ready to serve, let the ice cream sit out for 10 to 15 minutes first — it scoops so much more easily at room temperature. Sometimes my Mom layer different flavours on top of each other too — the key is to let each layer freeze completely before adding the next one. Then once all the layers were firm, she would run a little warm water over the outside of the metal mould so the whole thing would slide right out in one beautiful piece. Back into the freezer it went, and slicing it later was so much easier without the mould.
Ready to Scoop?
Summer calls for homemade ice cream — and these easy homemade ice cream recipes cover every craving from rich and indulgent to light and fruity. So pick a flavor, grab your ingredients, and enjoy the process. And if you try one, feel free to make it your own — swapping mix-ins, adjusting sweetness, or adding an extra drizzle of something good on top. That is the best part of making it yourself.
Leave a Reply