


Pebble mosaic is one of those techniques that works on almost anything – a garden path, a birdbath, a plant pot, a tabletop, or even a sink. This guide covers all of it, from the simplest stepping stone to a full walkway and beyond.
Recently this technique has really caught my eye. We are hopefully moving into our new home soon, there are so many ideas for making the new place truly unique. A mosaic pathway and some stepping stonesA mosaic pathway and some stepping stones would be among my first projects to make. The birdbath is also high on the list – especially right now, with temperatures hitting around 40°C. The local birds and small animals could definitely use a cool water source in this heat. This post contains affiliate links.
What Is Pebble Mosaic?
Pebble mosaic is the art of arranging natural stones into patterns set in mortar or sand. The technique has been used for centuries. For example, the cobblestone streets of Lisbon and the grand plazas of Seville are classic examples of it in action. In a home garden, it brings that same handcrafted, timeless quality to a path, patio, or decorative feature. The stones themselves do all the visual work. All it takes is a little patience and a clear plan.
The most common use is a garden path or walkway. However, pebble mosaic works just as well on patios, birdbaths, plant pots, tabletops and more. More on those later in the guide.
What You Need – Materials and Tools
Before starting any pebble mosaic project, it helps to understand the materials involved. Some are more obvious than others.
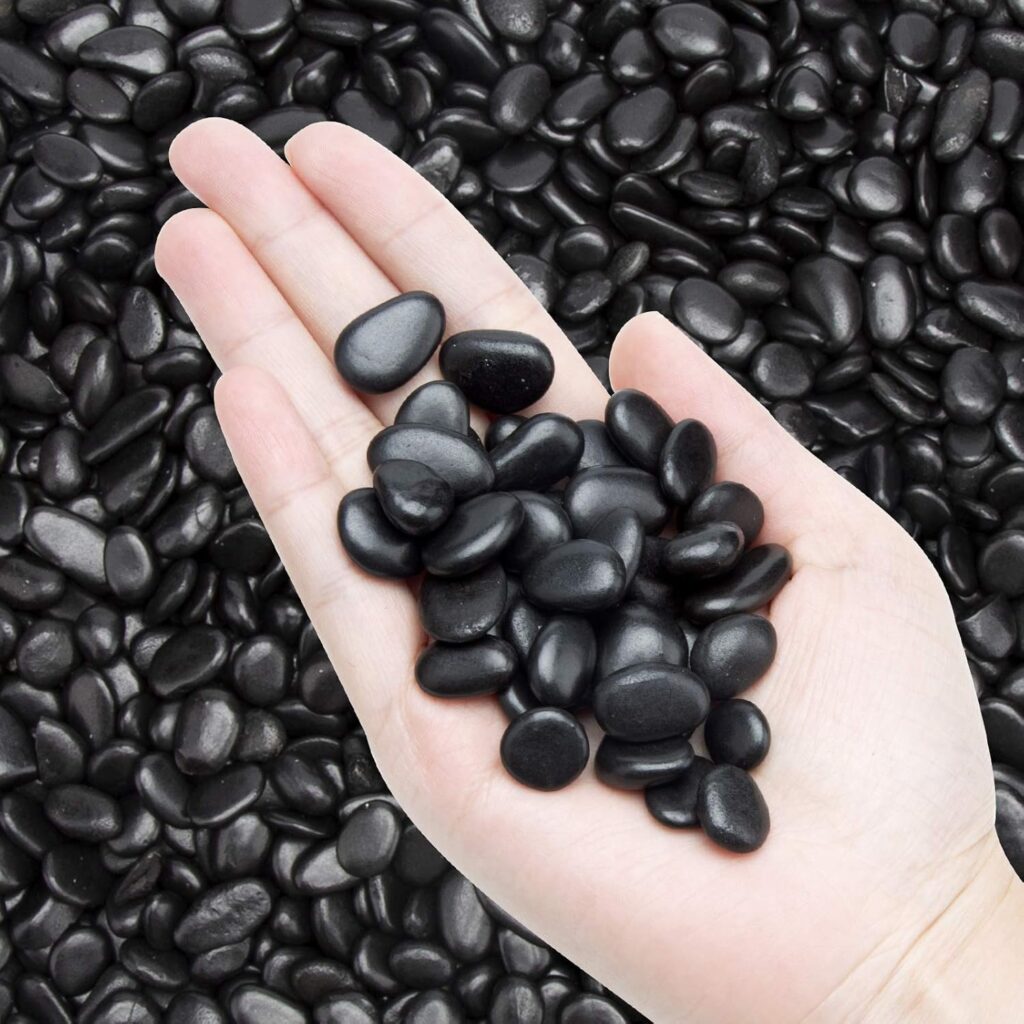
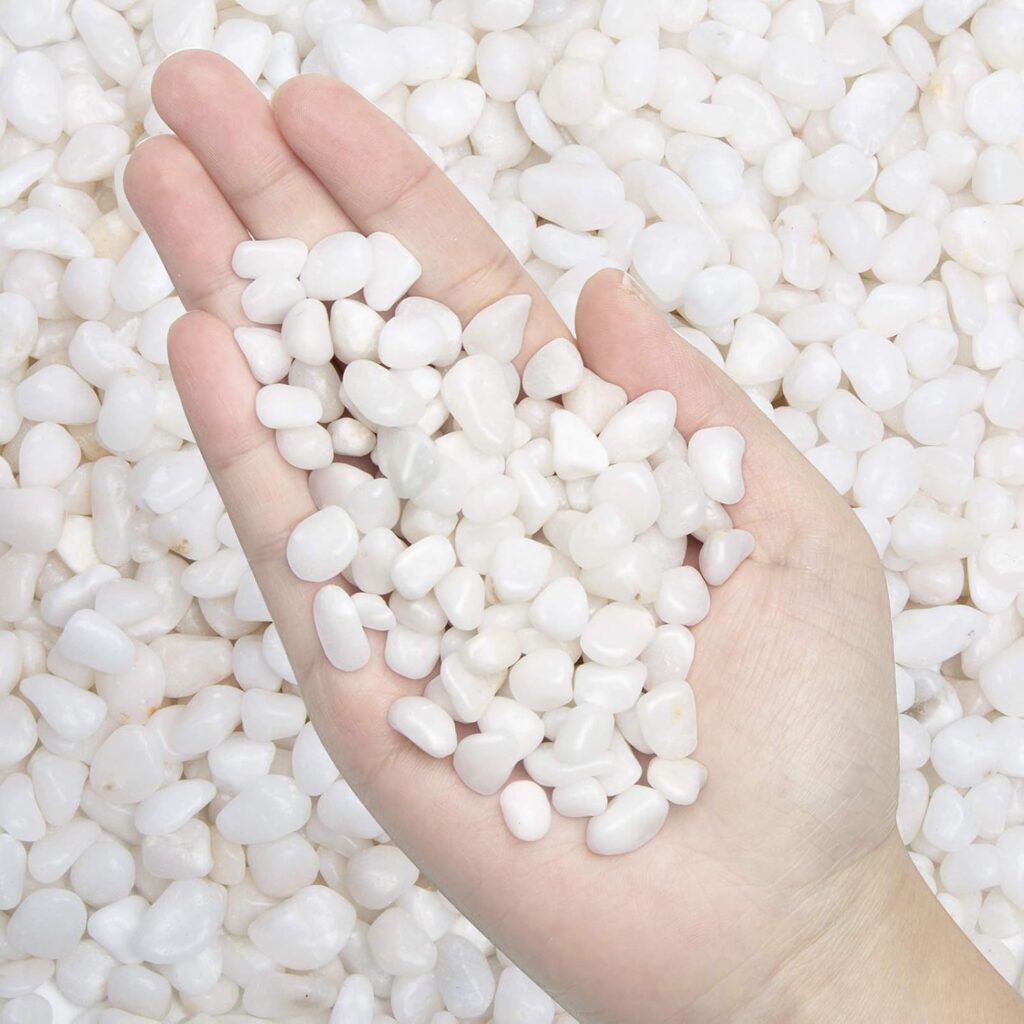
Pebbles and river rocks: The main ingredient. Smooth, rounded river rocks and Mexican beach pebbles are the most popular choice. They are naturally polished and come in a good range of colors. Black and white combinations look bold and graphic. In contrast, earthy tones in brown, beige and grey blend naturally into garden surroundings. For a 3×9 foot path section, roughly 125 to 150 pounds of pebbles are needed. These Mexican Beach Pebbles are a popular choice or the one colur version. This Mixed River Rock bag also offers good color variety. Wetting the stones before sorting helps a lot – colors show up much more clearly on wet stone than dry.
Cement mix: This is what holds the stones in place. Cement mix is the most widely used option for pebble mosaic projects and is easy to find. This Cement is a popular choice. The right consistency is similar to thick brownie batter – stiff enough that pebbles do not sink, but soft enough to press stones in easily.
Grout: Once the stones are set and the mortar has cured, grout fills the gaps between them. It is finer and more fluid than mortar. Think of it the same way as the grout used between bathroom tiles – it seals the surface and keeps everything clean and locked in. This Unsanded Tile Grout works well for pebble mosaic projects.
Polymeric paver sand: This is an alternative finishing option to grout for outdoor path projects. It sweeps into the gaps between stones and locks everything in place once misted with water. This Polymeric Sand is a good outdoor choice.
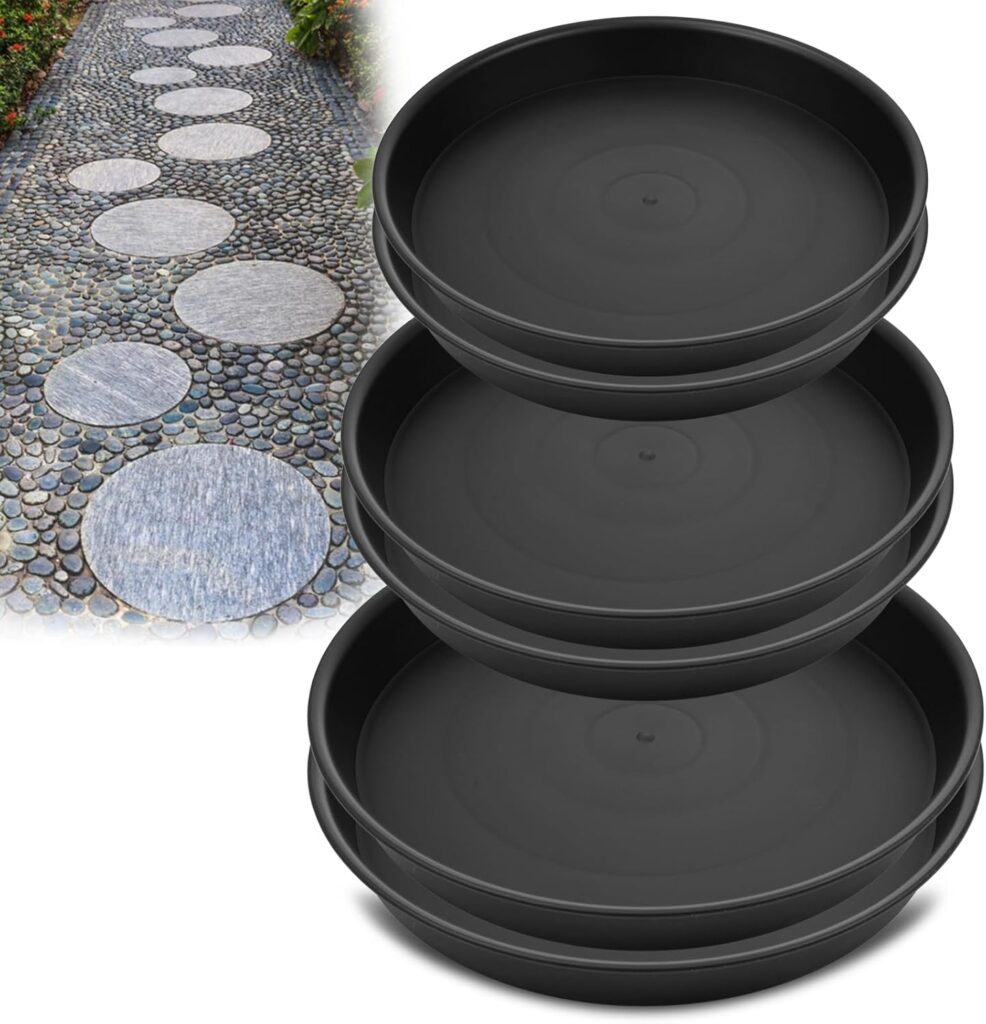
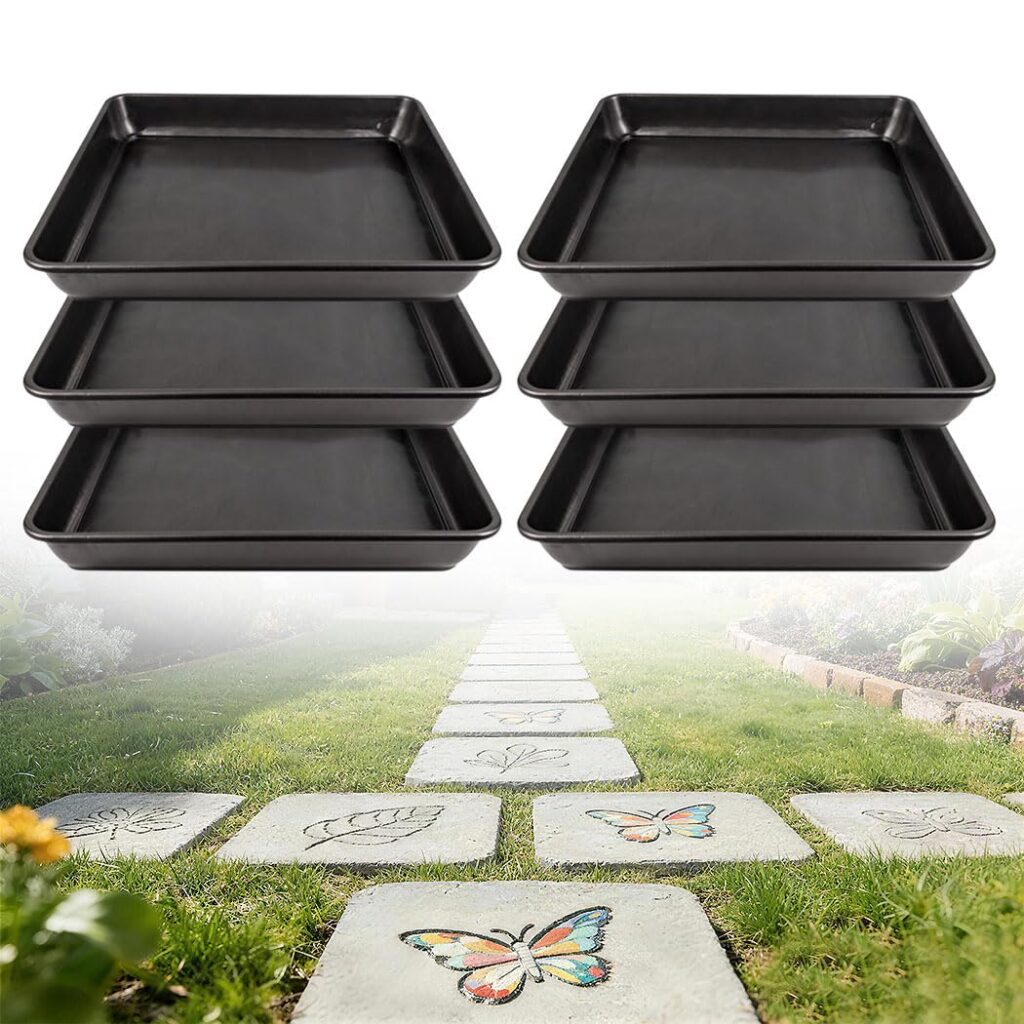
Stepping stone molds: For individual stepping stones, molds make the process much more beginner-friendly. This Round Stepping Stone Mold and this Square Stepping Stone Mold are both worth looking at.
Other supplies: A rubber mallet, garden hose, dust mask, work gloves, a wheelbarrow for mixing mortar, and a straight board for leveling are all useful to have on hand.
Pebble Mosaic:
Pebble Mosaic Stepping Stones
This is the best starting point for anyone new to pebble mosaic. A single stepping stone is a small, manageable project. Furthermore, it uses very little material and gives a real feel for working with mortar before committing to a larger path.
The process is straightforward. Mix the mortar to a thick consistency and pour it into a mold. Then arrange the pebbles on top in the desired pattern, pressing each one about halfway down into the mortar. A rubber mallet helps with larger stones. Once the design is complete, leave it to cure for at least 48 hours before removing it from the mold.
For a square stepping stone with a more detailed pattern, the same approach works well. However, it helps to sketch the design on paper first. It also helps to sort the pebbles by color and size before starting. Trying to sort and design at the same time while the mortar is setting is stressful and leads to mistakes.
How to Make a Pebble Mosaic Walkway – Step by Step
A full pebble mosaic walkway is a bigger commitment. However, it is also an incredibly rewarding project. The technique is similar to stepping stones – just on a larger scale.
Step 1 – Prepare the ground. Mark out the path and dig down about five inches below the intended finished level. Rake it smooth and add a two to three inch layer of crushed gravel as a base. Then tamp it down firmly. This prevents the path from sinking or shifting over time.
Step 2 – Build a form. Use wooden boards or flexible plastic lawn edging to frame the edges of the path. The top of the form acts as a guide for leveling the mortar and the finished surface.
Step 3 – Mix and pour the mortar. Work in sections rather than trying to do the whole path at once. Mix mortar to a stiff batter consistency, pour it into the framed section and spread it level.
Step 4 – Set the stones. Mist the mortar lightly with water first. Then begin pressing stones into the surface according to the design. Start from the center of each section and work outward. Press each stone about halfway into the mortar. Use a rubber mallet to tap larger stones down to the right height.
Step 5 – Level the surface. Lay a flat board across the set stones and press down gently. This evens out any stones that sit too high. The goal is a smooth, safe surface with no tripping hazards.
Step 6 – Cure and finish. Leave the mortar to set for at least 48 hours. Keep it out of direct sunlight if possible. In addition, mist lightly with water once or twice a day during curing to prevent cracking. Once fully cured, sweep grout or polymeric sand into the gaps and mist to activate.

Path Mold Method (Faster Alternative)
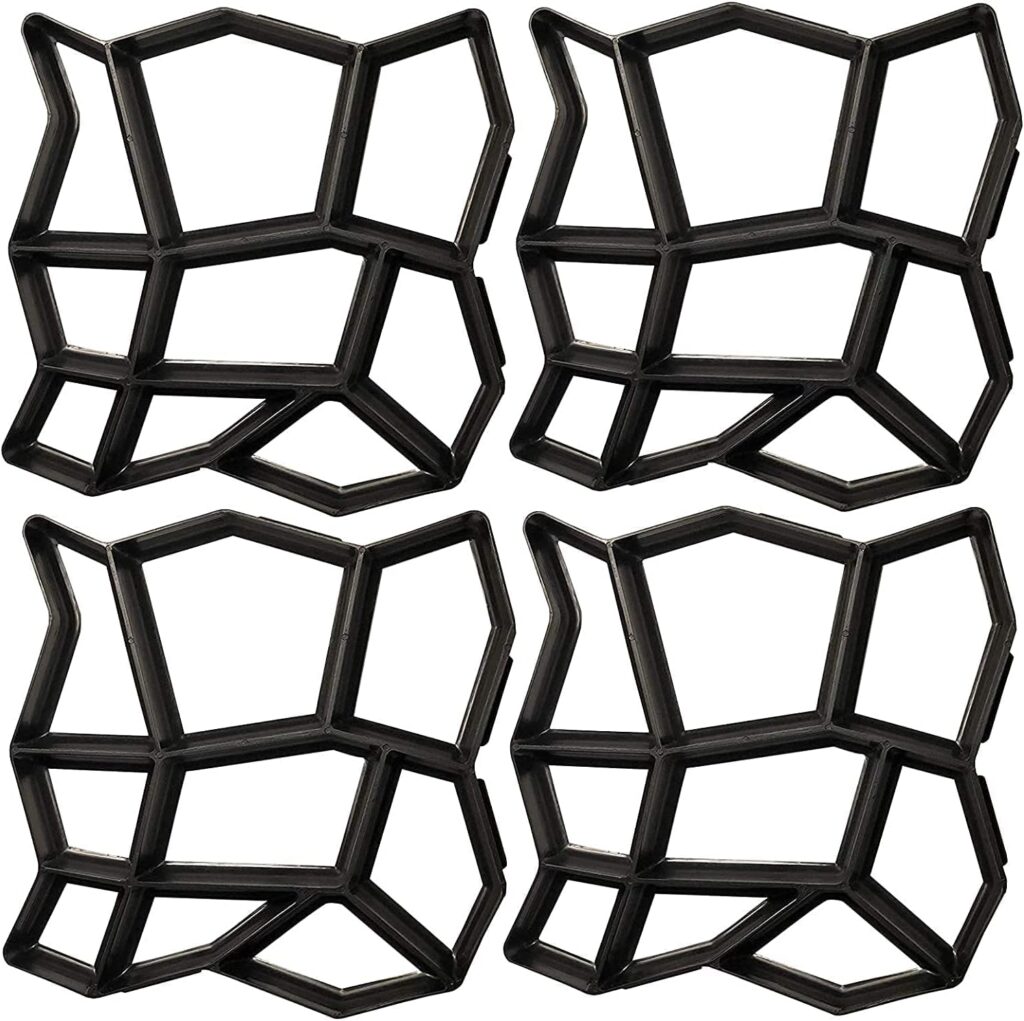
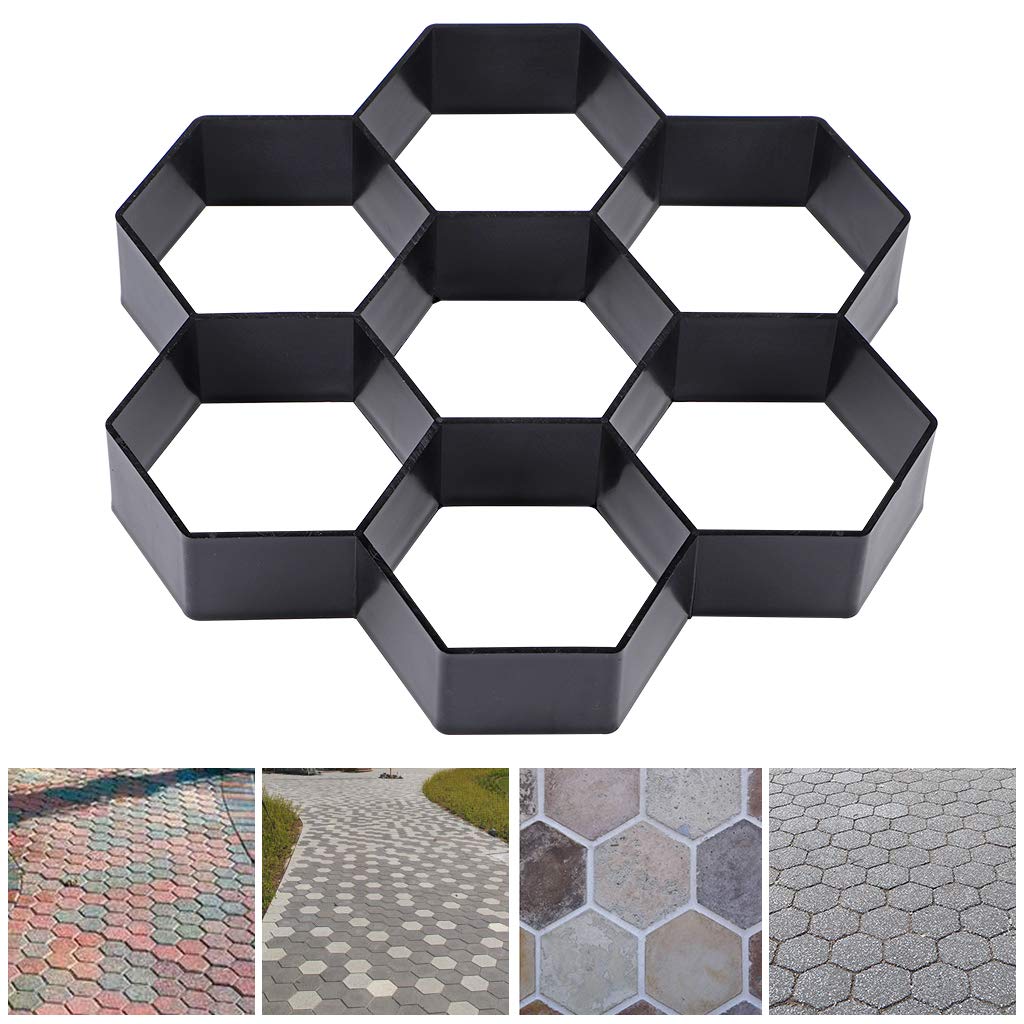
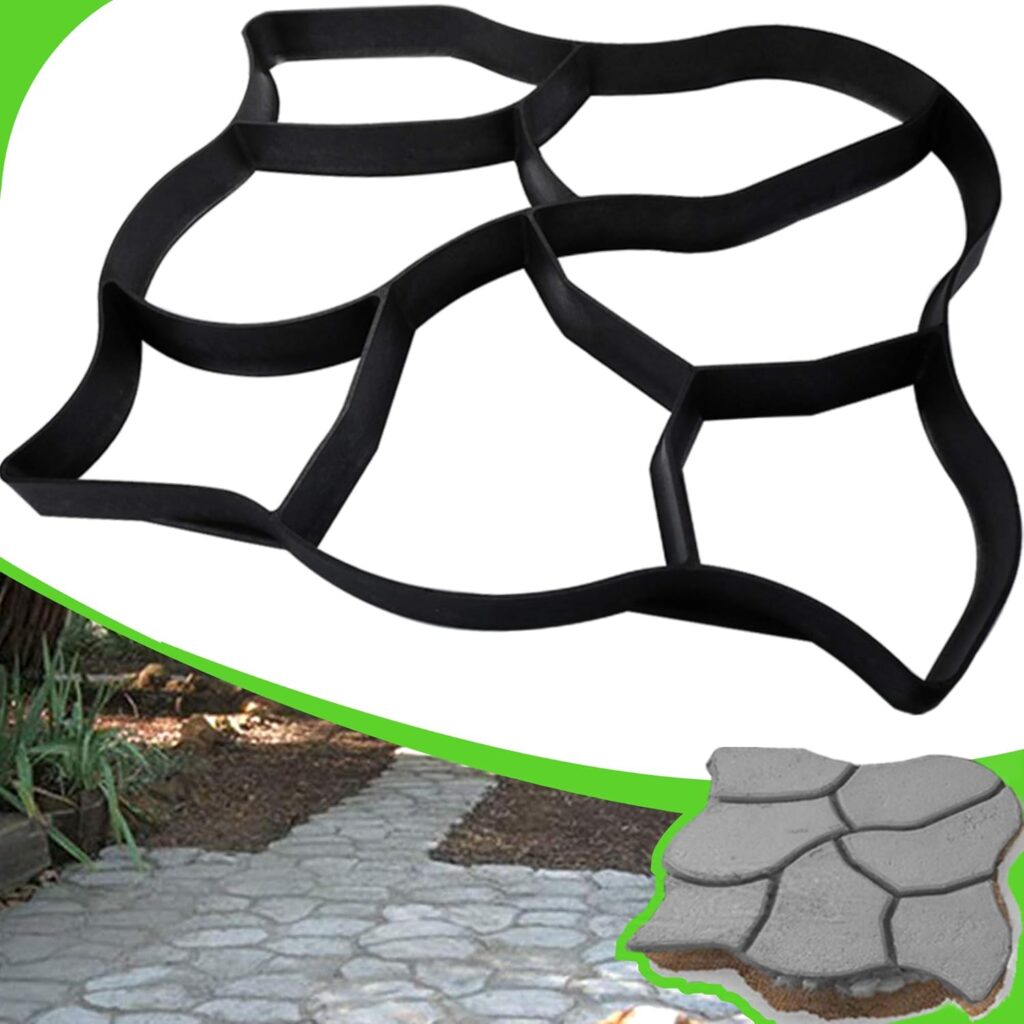
For a quicker result that still looks like natural stone, the path mold method is an excellent option. A mold in the shape of a stone pattern is placed directly on the ground and filled with mortar. It is then lifted and moved to the next section. The process repeats along the entire length of the path.
This Garden Path Mold is the kind of tool that makes the whole project much more approachable. The finished result has a cobblestone appearance. In addition, it takes a fraction of the time compared to hand-laying individual pebbles.
These molds are widely available on Amazon and come in a variety of shapes and patterns, making it easy to find one that suits the garden style:
Technique 4 – Cement Bag Method
This is possibly the most low-effort path method of all. Bags of dry cement mix are arranged directly on the ground in the desired path shape. Then a propane torch is used to burn away the plastic bag. What remains is a solid, rounded cement form in the shape of the bag. The bags sit side by side and the result looks like a natural, organic stone path.
A Propane Torch is the key tool here. This method requires almost no skill and very little equipment. Furthermore, the rustic look suits a boho or cottage garden perfectly.
Pebble Mosaic Design Ideas
Spiral: One of the most classic pebble mosaic patterns. Start with a central stone and work outward in a curve, alternating light and dark pebbles.
Flower: A circular center stone surrounded by petal-shaped sections in contrasting colors. Works beautifully as an individual stepping stone.
Mandala: More complex, but stunning. Concentric rings in different stone sizes and shades create a striking effect. However, it is worth attempting only once comfortable with the basic technique.
Geometric: Alternating diagonal lines or a simple checkerboard in two stone colors. This is a great choice for a first full path project.
Pebble floors: The same techniques used for paths work equally well on a larger patio or courtyard floor. Black and white pebble floors in particular have a very dramatic, Mediterranean feel.
More Ways to Use Pebble Mosaic
Once the technique feels familiar, it is hard to stop at a garden path. Pebble mosaic works on almost any surface that can hold mortar. The results are always unique, always handmade, and always impressive. Here are some of the most popular ways to take the craft further.
Before diving into specific projects, this video is a great starting point. In it, a mosaic artist walks through five different techniques worth knowing before picking up the first pebble. It gives a really useful overview of what is possible:
Mosaic Plant Pots
A plain terracotta or concrete pot transforms completely when covered in pebble mosaic. The process is similar to working on a flat surface – mortar is applied to the outside of the pot and pebbles are pressed in section by section. Smaller, flatter pebbles work best on curved surfaces. They sit more naturally and are less likely to shift while the mortar sets. The finished pot is completely weatherproof and looks far more expensive than it actually is.
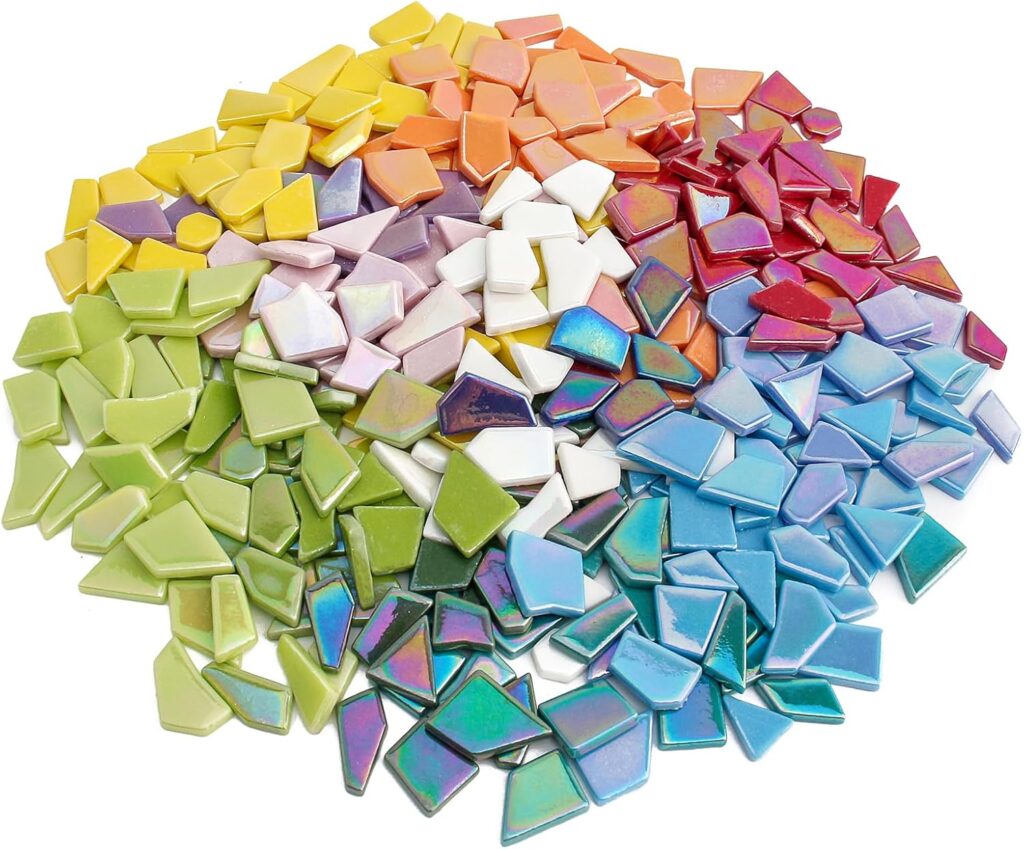
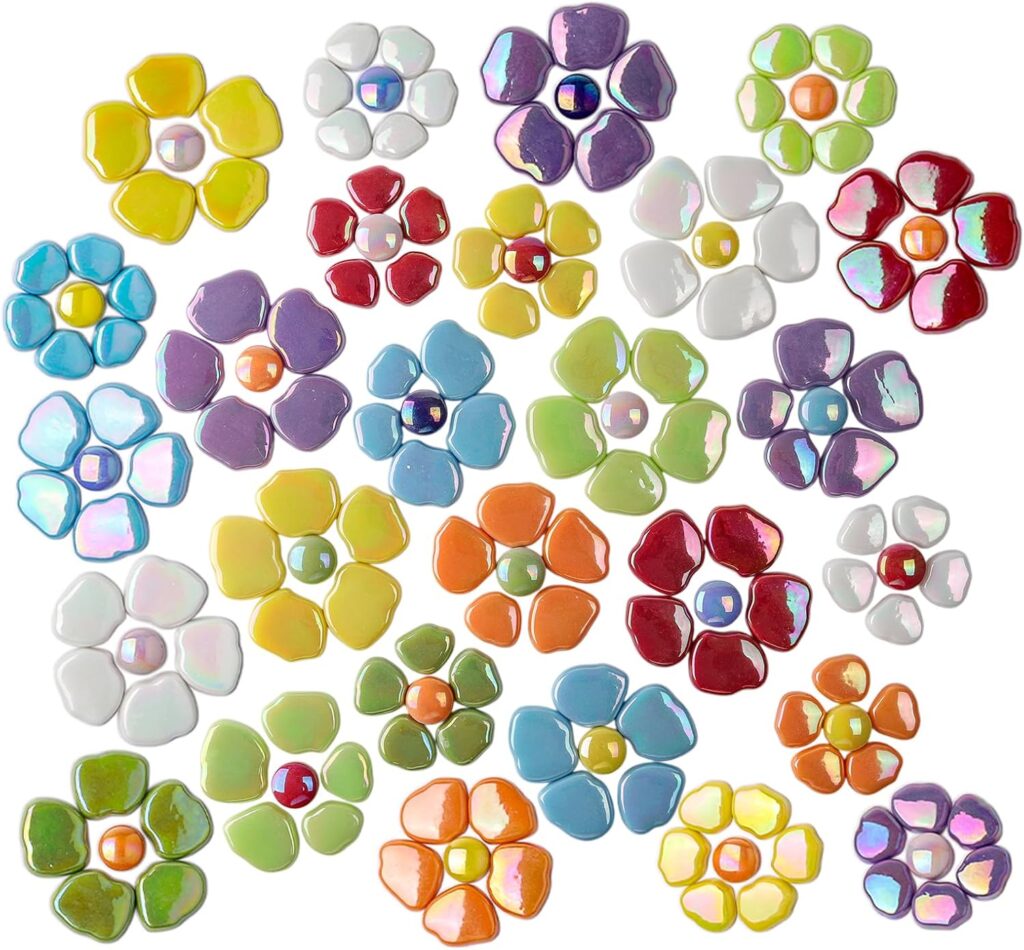
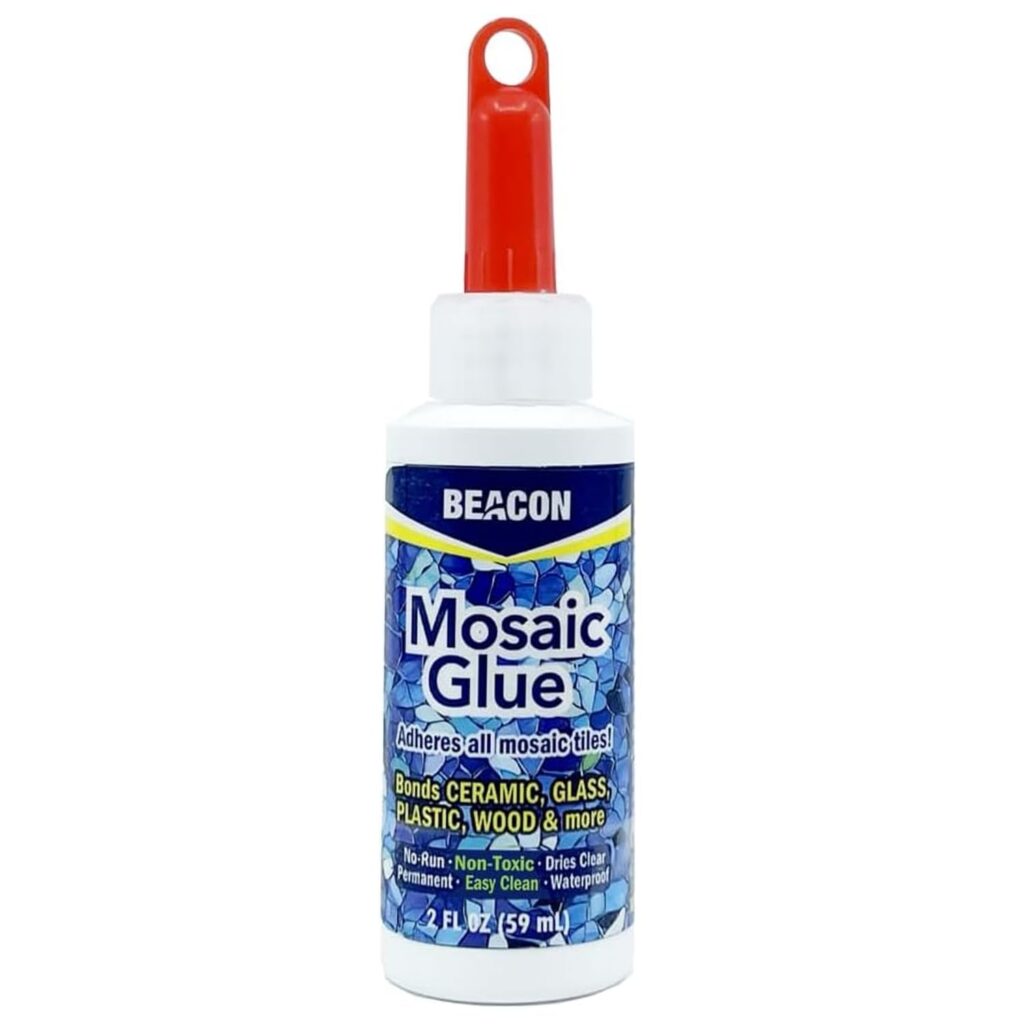
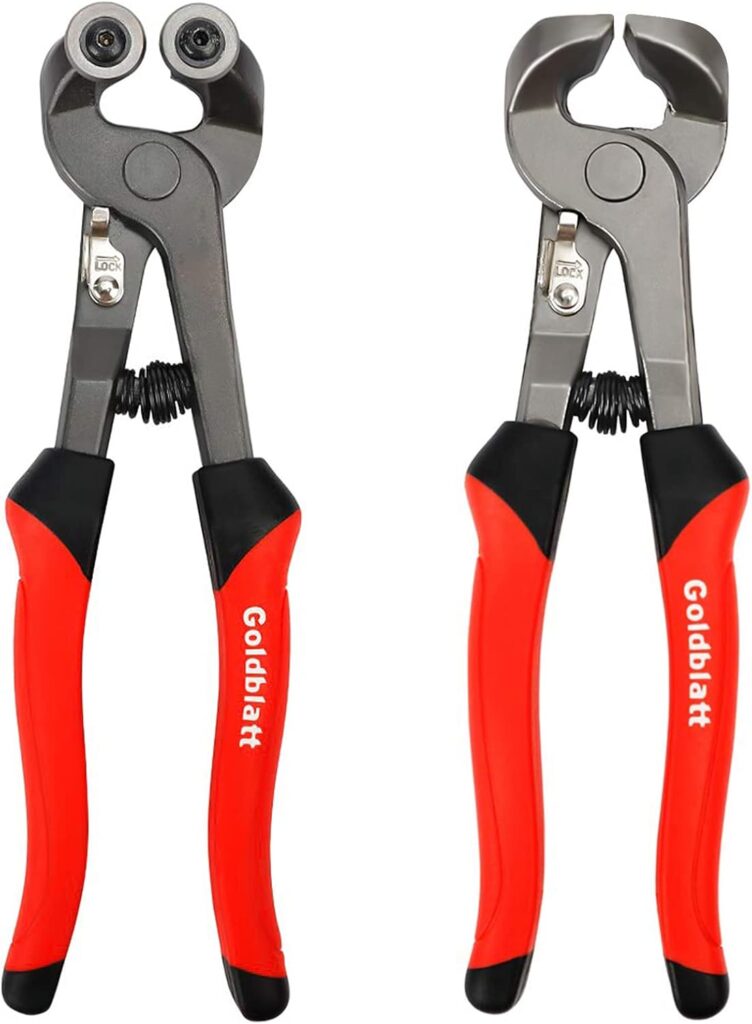
These might come in handy too:
Mosaic Garden Table
A small outdoor side table with a pebble mosaic top is one of those pieces that becomes the focal point of any garden corner. The tabletop is treated exactly like a stepping stone – mortar is spread across the surface and pebbles are pressed into a pattern. A spiral or mandala design works especially well on a circular table. Furthermore, the finished surface is completely weatherproof once sealed. It does not fade, crack or peel the way painted furniture does.
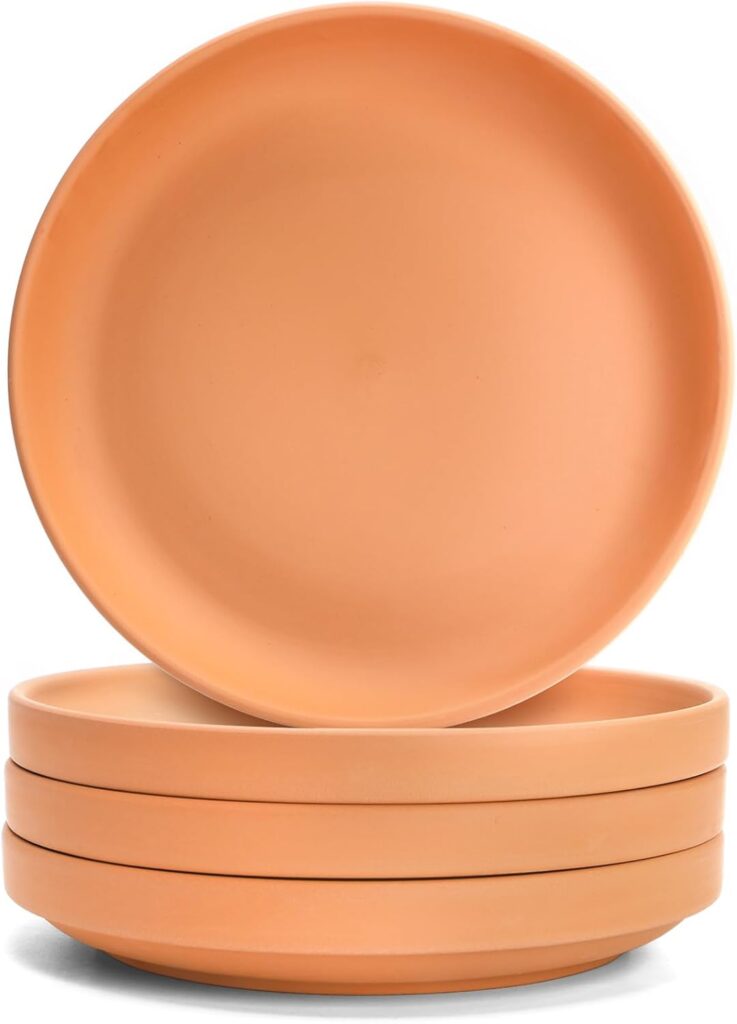
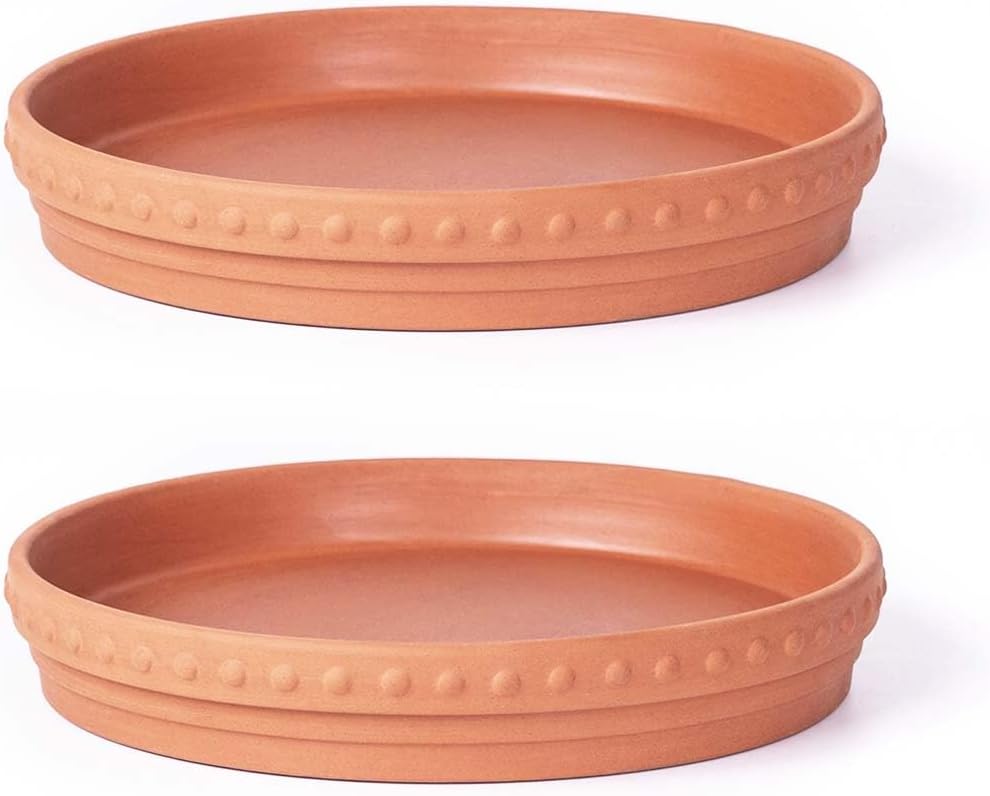
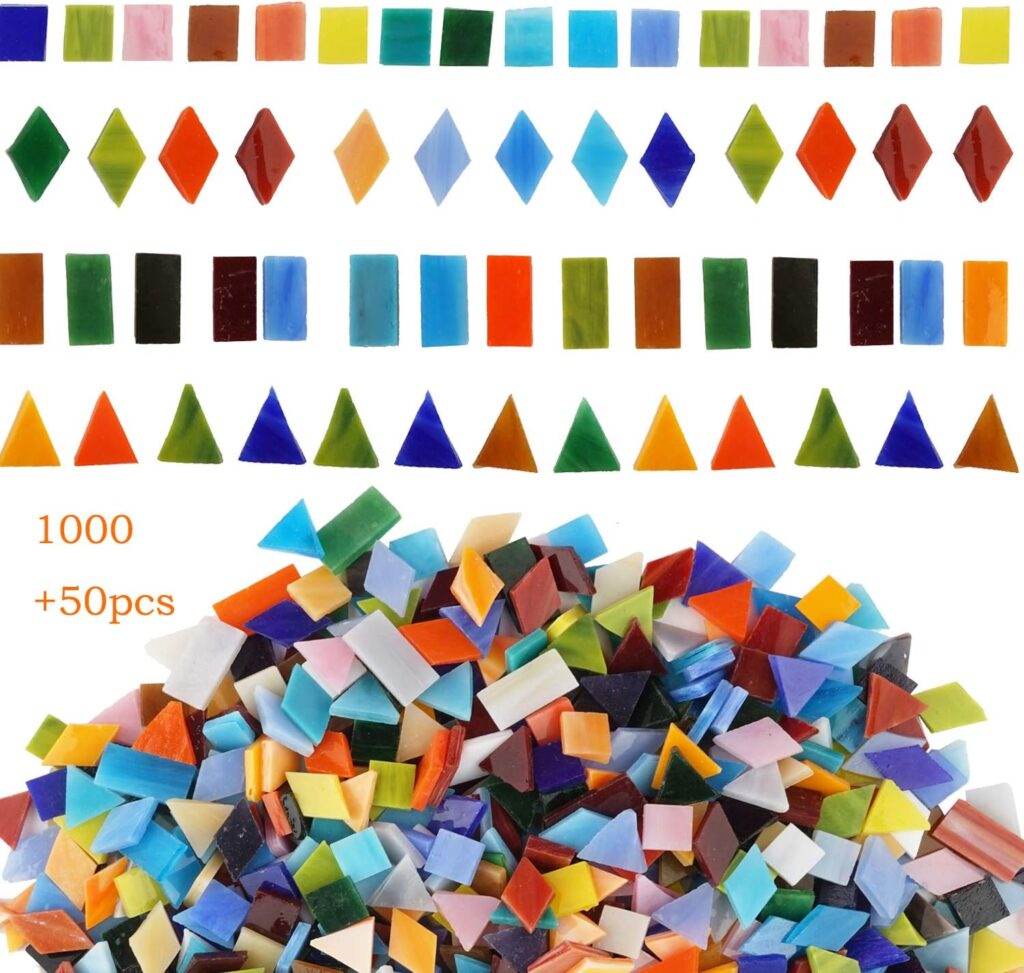
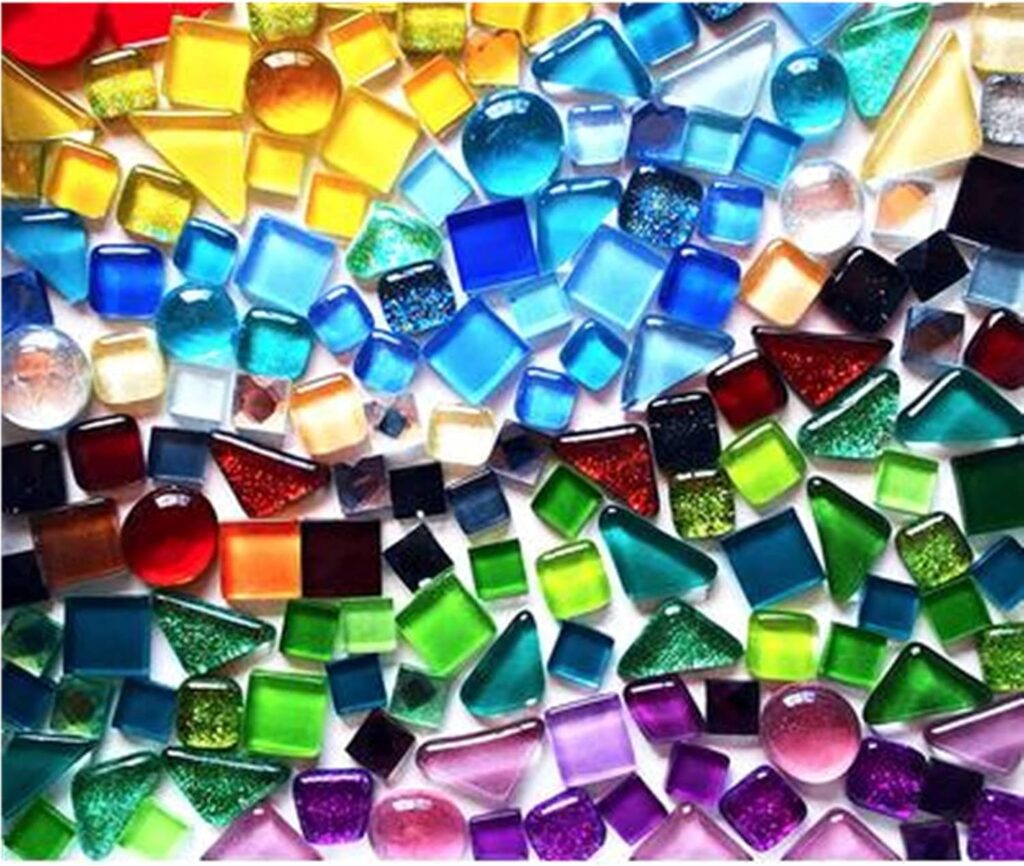
Mosaic Birdbath
A pebble mosaic birdbath is one of the most striking things that can be added to a garden. The bowl of the birdbath is lined with mortar and pebbles, working from the center outward in whatever pattern feels right. The mosaic surface is also practical – the texture gives birds better grip on the edge and inside the bowl. In addition, the natural stone stays cooler in direct sunlight than plain painted concrete.
Here are a few things you will need for this:
Mosaic Coasters
Pebble mosaic coasters are a perfect first project for anyone who wants to practice the technique before starting something bigger. They are small, fast and very satisfying to make. A round mold or even a small container works as the base. The mortar is poured in, the pebbles are arranged in a simple pattern, and the whole thing cures overnight. The result is a set of completely unique, handmade coasters that are heat-resistant and easy to clean.
Mosaic Lamp Base
A lamp base covered in pebble mosaic adds a lot of warmth and texture to an outdoor space. The technique works on concrete, ceramic or even a plain plastic base. Smaller pebbles and flat stones work best here because the surface area of a lamp base is usually narrow. However, the effect is surprisingly dramatic once finished. The natural stone catches the light in a completely different way to a plain surface.
Mosaic Sink or Basin
My sisters and friends I love going to ceramic painting workshops together, and that is actually where I first came across a mosaic decorated sink in person. A few cafes and restaurants have been experimenting with it too.
This one is not for everyone – but it is impossible to ignore. A bathroom or outdoor sink covered entirely in pebble mosaic is a genuinely bold design choice. The inside of the basin is lined with smaller, flatter pebbles set in waterproof mortar, and the outside can be decorated in a more elaborate pattern. The result looks like something from a boutique hotel or a Mediterranean villa. Waterproof grout is essential here. In addition, a proper sealant is needed to protect the surface from constant water exposure.
A pebble mosaic path fits perfectly into a wider whimsical garden design. For more ideas on how to bring that magical, fairy tale atmosphere to the whole outdoor space, this guide to whimsical fairy garden ideas is a great next step.
Leave a Reply